FreeBSD Notes
-

Create a shell script that will dump the Redis database
cd ~ mkdir redi-backups-script cd redis-backups-script nano redis_backups-script.shPaste the script below:
#!/bin/bash rdb_file="/Place-directory-of-rdb-here/redis/dump.rdb" redis_cli="/usr/bin/redis-cli" DIR=`date +%d-%m-%y` DEST=~/redis_backups/$DIR mkdir $DEST echo save| $redis_cli exit 1Set script to executable:
chmod +x ~/scripts/redis_backups-script.shCreate a cron to run daily:
Then create a cron job to run the script every day at midnight:
crontab -e 0 0 * * * ~/redis-backups-script/redis_backup.shRestore RDB backup
Disable Append Only in the config:
nano /etc/redis/redis.conf appendonly noStop redis:
sudo service redis-server stopRestore the redis backup:
rename the rdb file you wish sudo cp /home/redis/dump.rdb /home/redis/dump.rdb.bak
You can then copy the backup rdb file as follows:
sudo cp /redis_backups/------/dump.rdb /home/redis/dump.rdbApply the proper permissions to the dump.rdb file:
sudo chmod 660 /home/redis/dump.rdbRe-starting Redis server
sudo service redis-server start
-
Install Zabbix 7.2 repo
wget https://repo.zabbix.com/zabbix/7.2/release/debian/pool/main/z/zabbix-release/zabbix-release_latest_7.2+debian12_all.deb
dpkg -i zabbix-release_latest_7.2+debian12_all.deb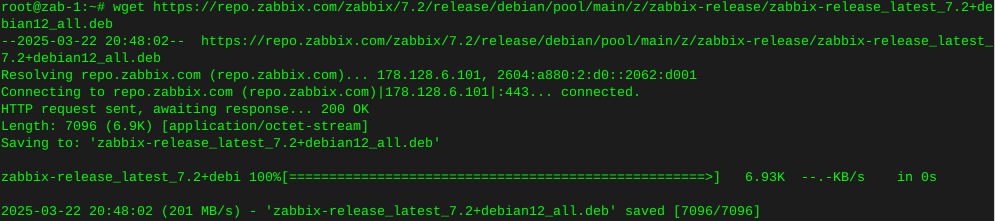

Update repos
apt update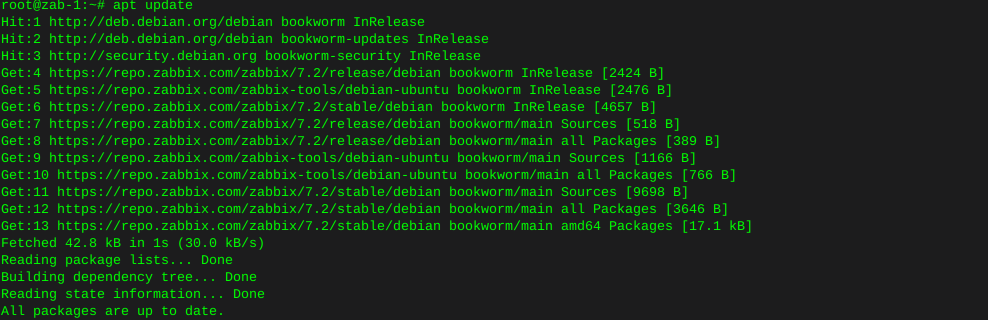
Install Zabbix server and frontend
apt install zabbix-server-mysql zabbix-frontend-php zabbix-nginx-conf zabbix-sql-scripts zabbix-agent2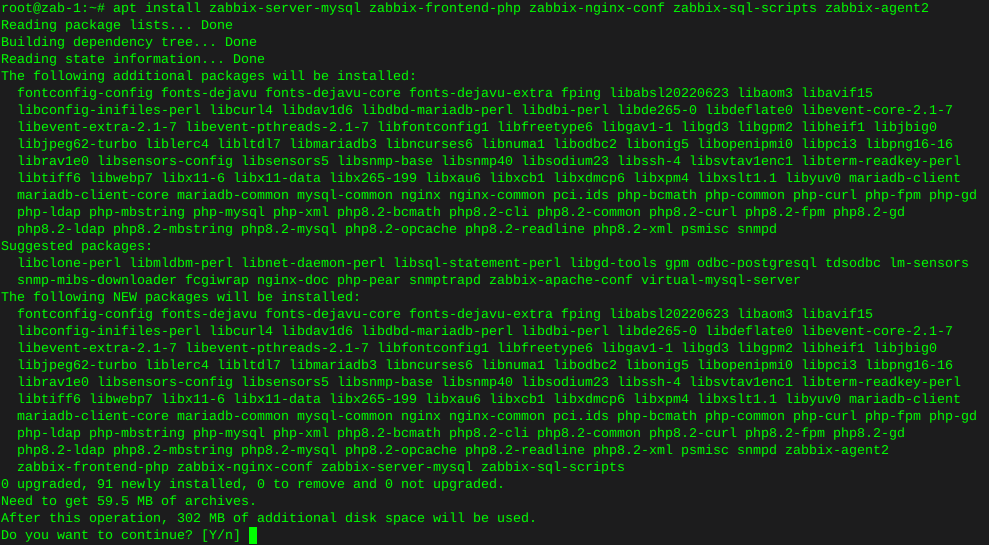
Install plugins
apt install zabbix-agent2-plugin-mongodb zabbix-agent2-plugin-mssql zabbix-agent2-plugin-postgresql
Install mysql
wget https://dev.mysql.com/get/mysql-apt-config_0.8.30-1_all.deb
sudo dpkg -i mysql-apt-config_0.8.30-1_all.deb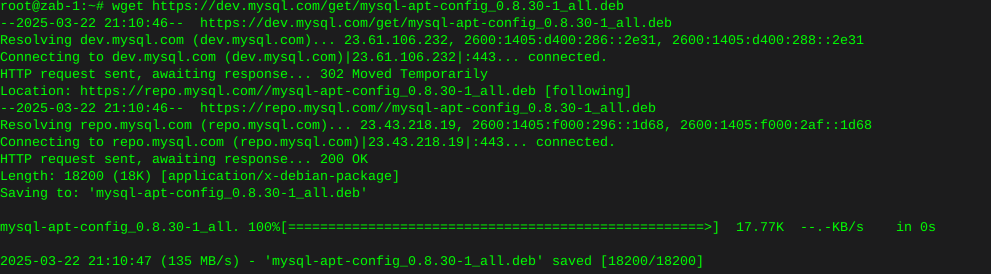
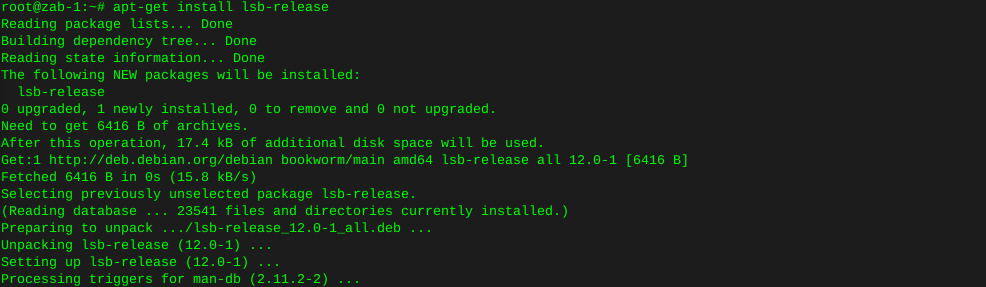
Error on this new install, where lsb-release is not installed
apt-get install lsb-release
Try again…
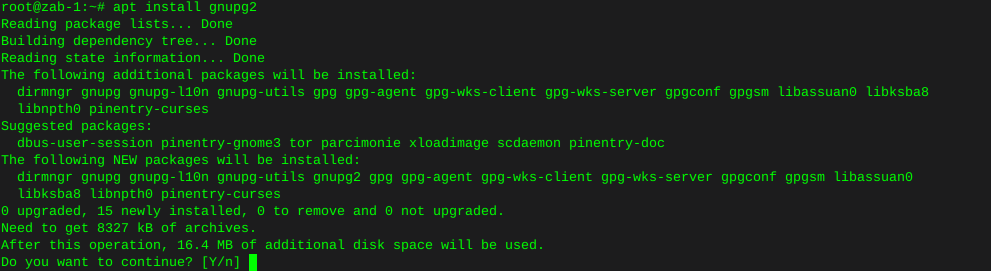
dpkg -i mysql-apt-config_0.8.30-1_all.debError, gnupg not installed
apt install gnupg2
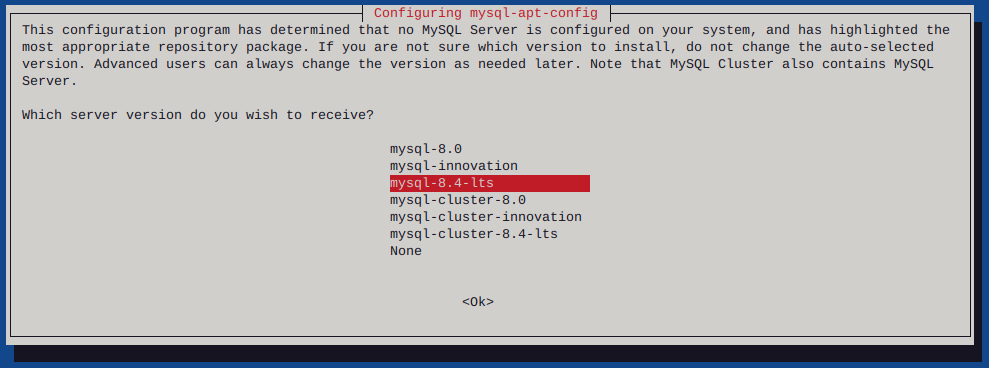
Give it another go…
dpkg -i mysql-apt-config_0.8.30-1_all.deb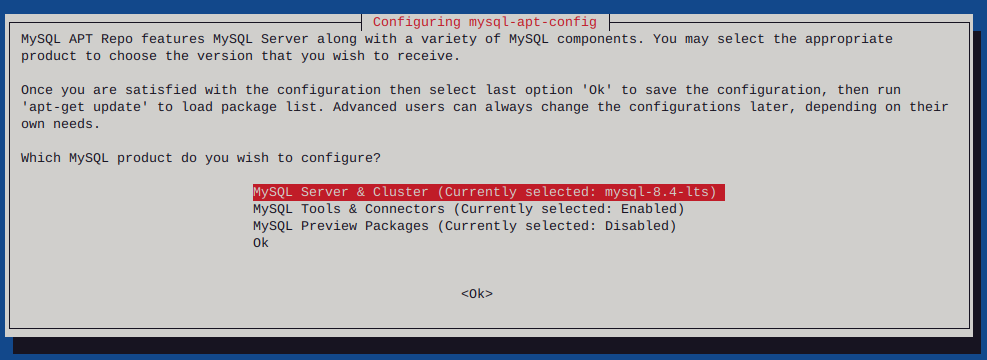
I had to list upgradable packages :
apt-list --upgradableWhich spit out : mysql-common/unknown 8.4.4-1debian12 all [upgradable from: 5.8+1.1.0]
Then installed mysql-common
apt-get install mysql-common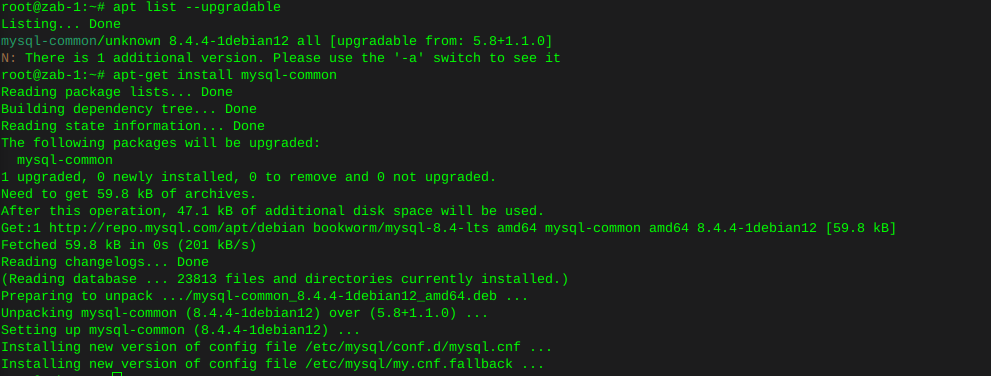
Had to uninstall Mariadb to resolve these conflicts
apt remove mariadb-client-coreThen install mysql-server:
apt install mysql-server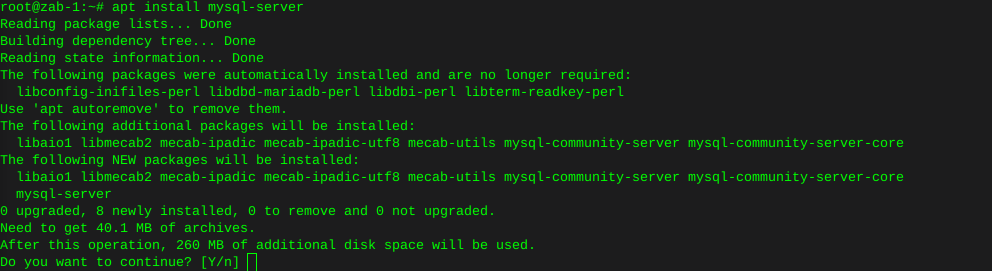
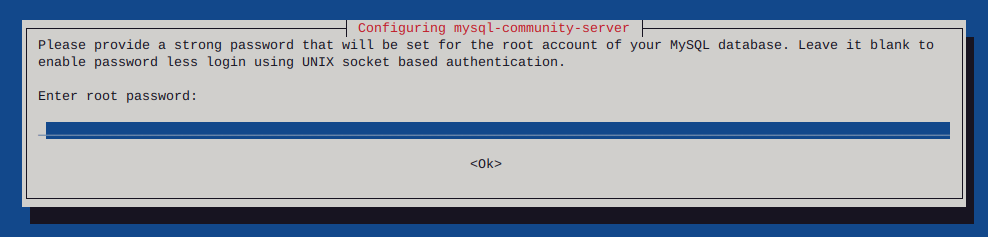
Enter your password, twice
Now enter mysql by typing :
mysql -u root -p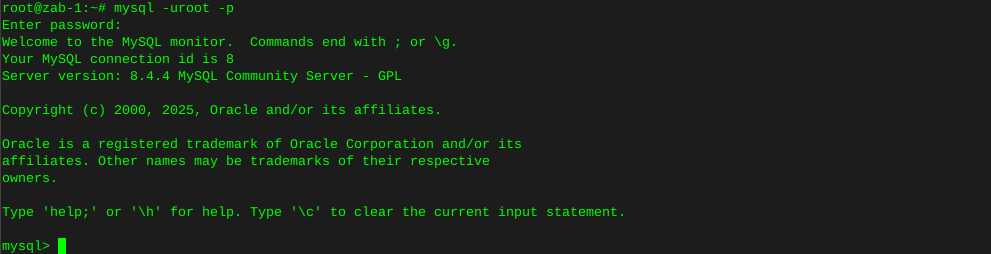
Enter the following command individually Where ‘password’ is where you type in your actual own password
mysql> create database zabbix character set utf8mb4 collate utf8mb4_bin; mysql> create user zabbix@localhost identified by 'password'; mysql> grant all privileges on zabbix.* to zabbix@localhost; mysql> set global log_bin_trust_function_creators = 1; mysql> quit;Populate the database with zabbix script
zcat /usr/share/zabbix/sql-scripts/mysql/server.sql.gz | mysql --default-character-set=utf8mb4 -uzabbix -p zabbix mysql --u root -p set global log_bin_trust_function_creators = 0; quit;Edit file /etc/zabbix/zabbix_server.conf You can use nano
nano /etc/zabbix/zabbix_server.confUncomment the DBPassword section, and type your password
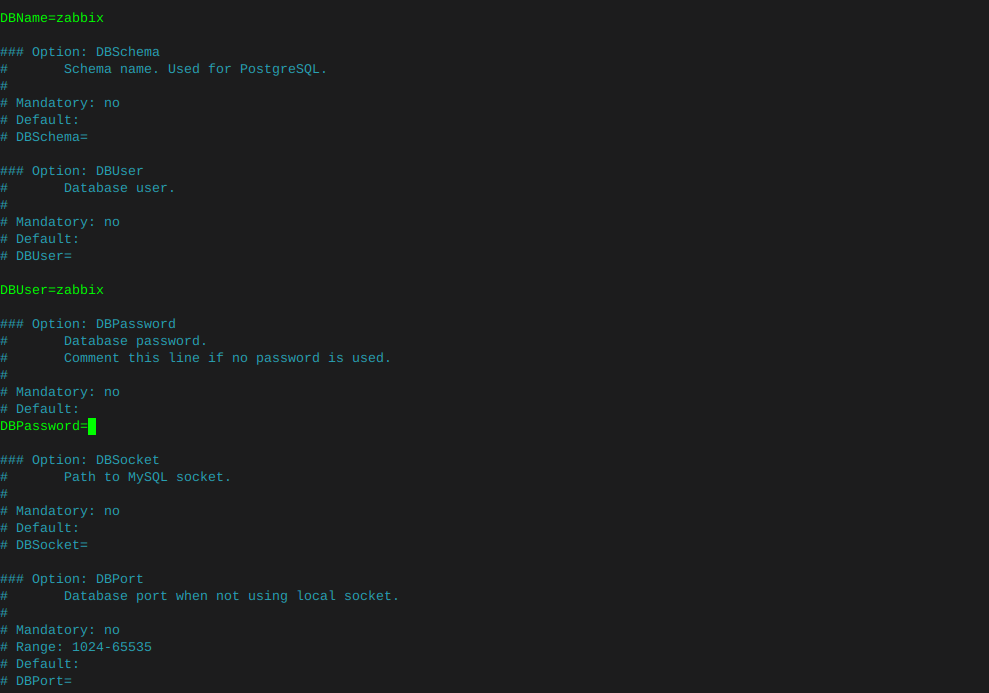
Then hold ctrl and tap x, it will ask if you want to save changes.
Enable services:
systemctl enable zabbix-server zabbix-agent2 nginx php8.2-fpm systemctl restart zabbix-server zabbix-agent2 nginx php8.2-fpmCheck that zabbix service has started
journalctl -xeu zabbix-server.service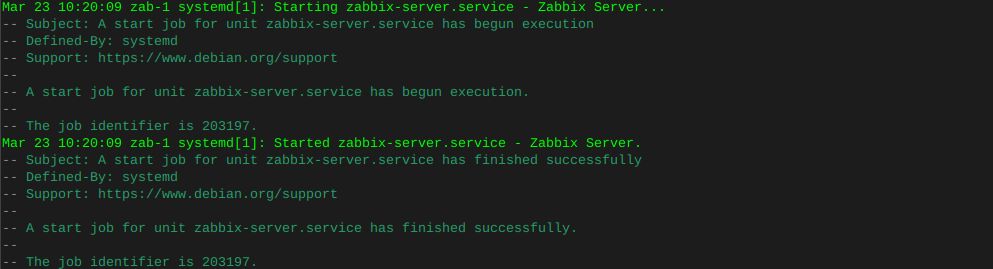
Delete the 'default site in nginx
sudo rm -rf /etc/nginx/sites-enabled/defaultMake sure the symbolic link to the zabbix nginx file is present
ln -s /etc/zabbix/nginx.conf /etc/nginx/sites-enabled/zabbix.confCheck that the zabbix nginx file is in the includes in nginx config
nano /etc/nginx/nginx.confLook for :
include /etc/nginx/sites-enabled/*Now restart nginx
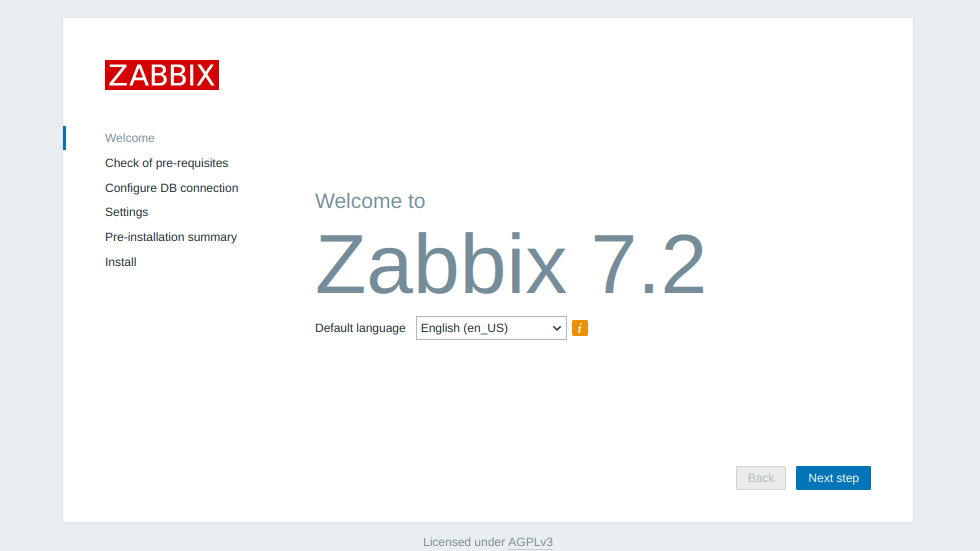
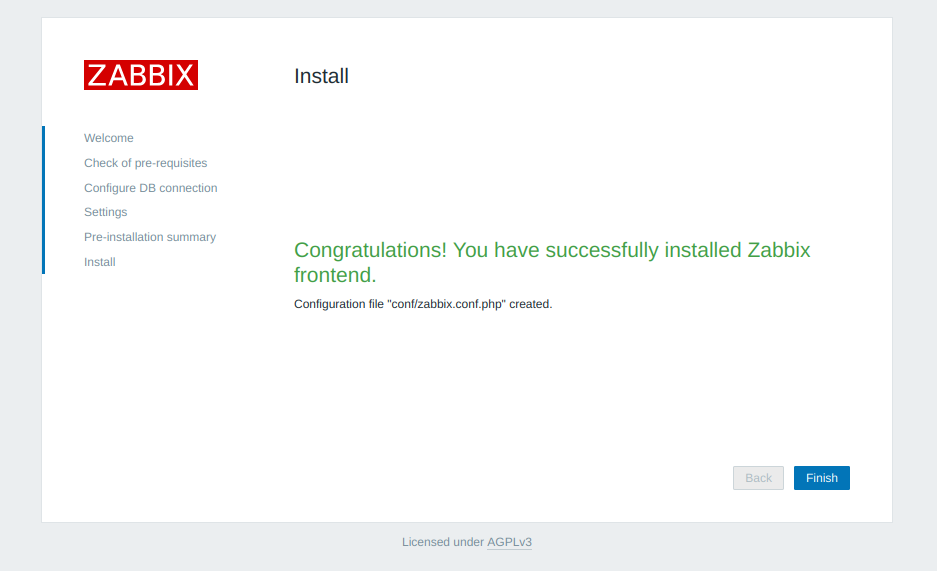
systemctl restart nginxHit the browser and type in the IP (or URL that you may have put in the zabbix nginx config file)
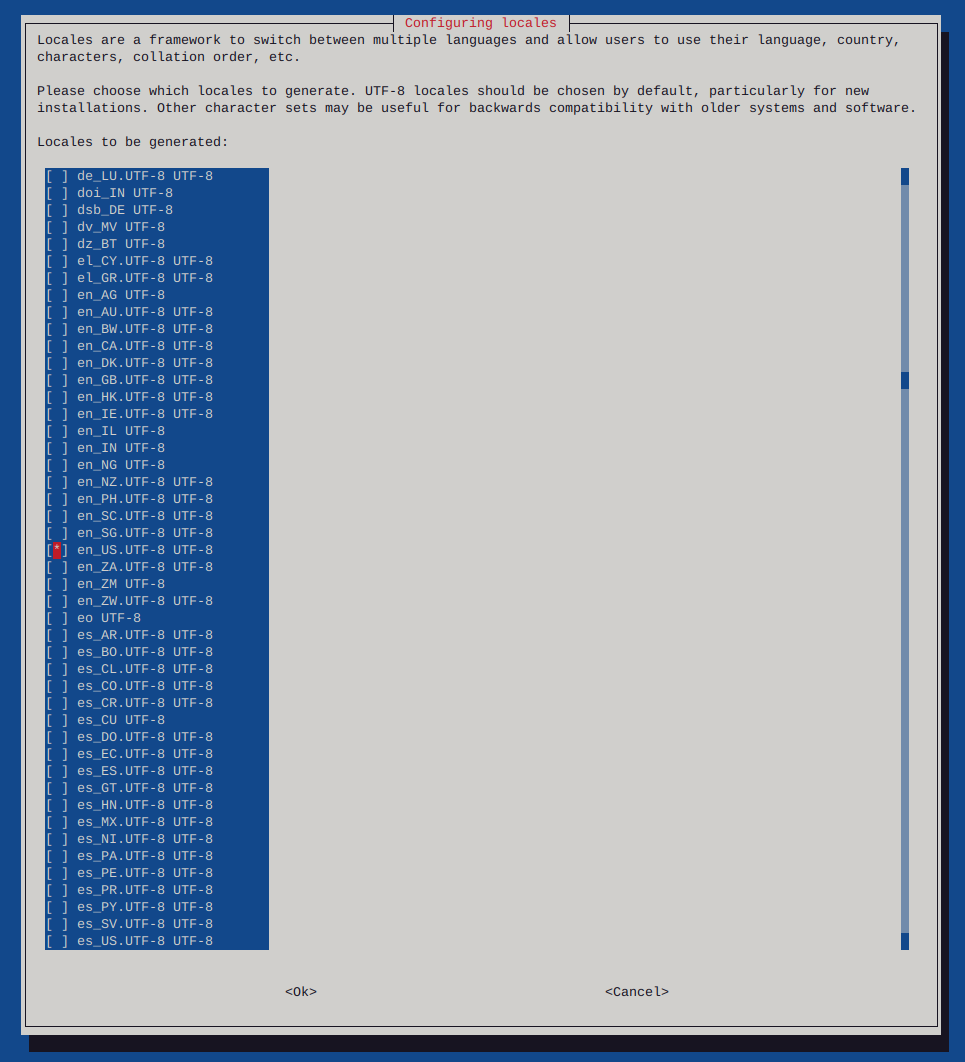
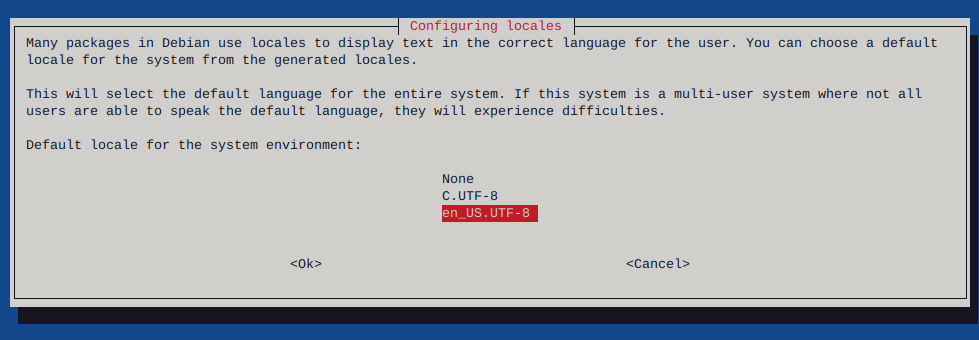
Make sure to configure locales
sudo dpkg-reconfigure locales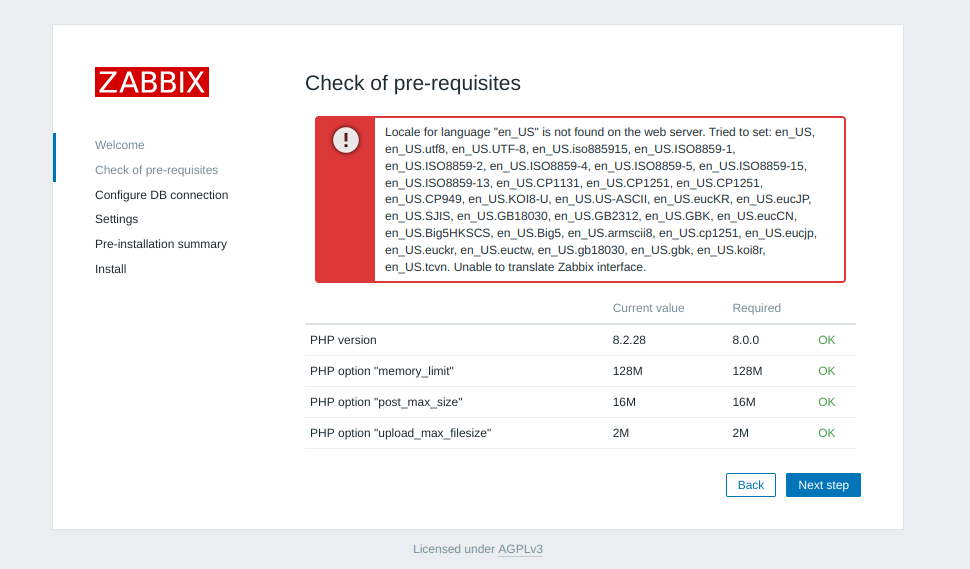

Reboot the system
sudo shutdown -r now
Add your database password
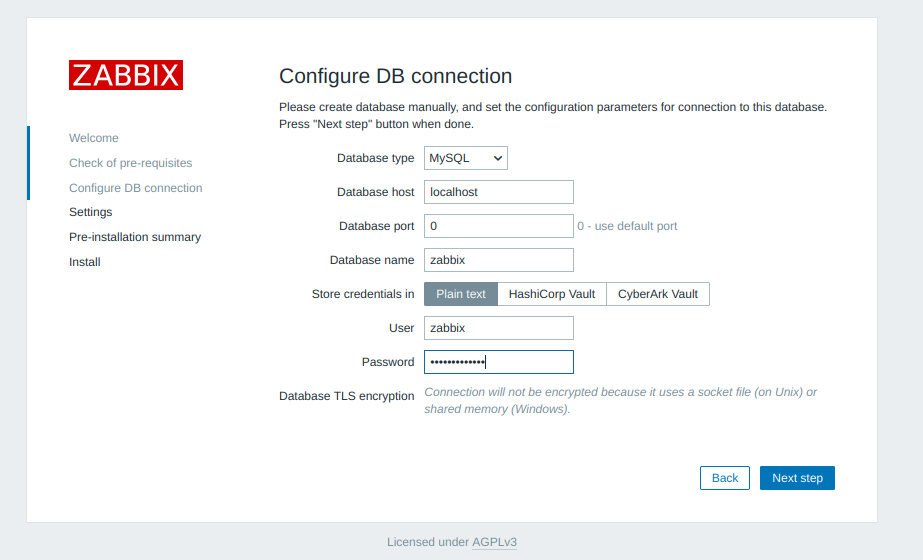
Add a server name
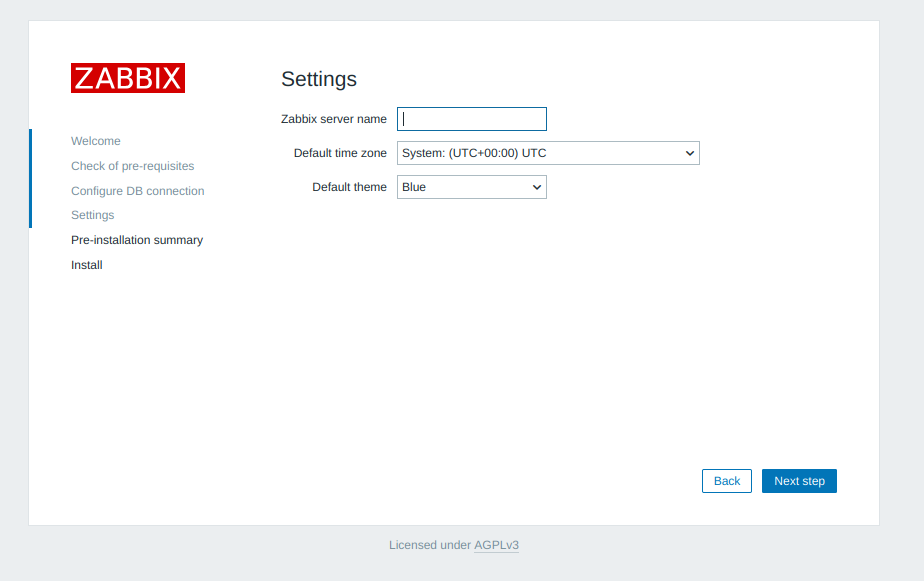
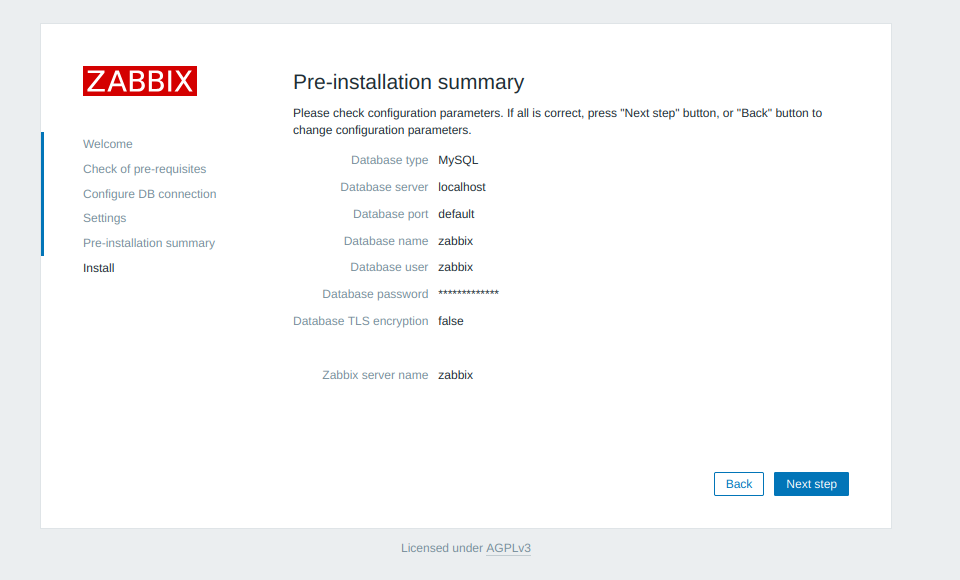
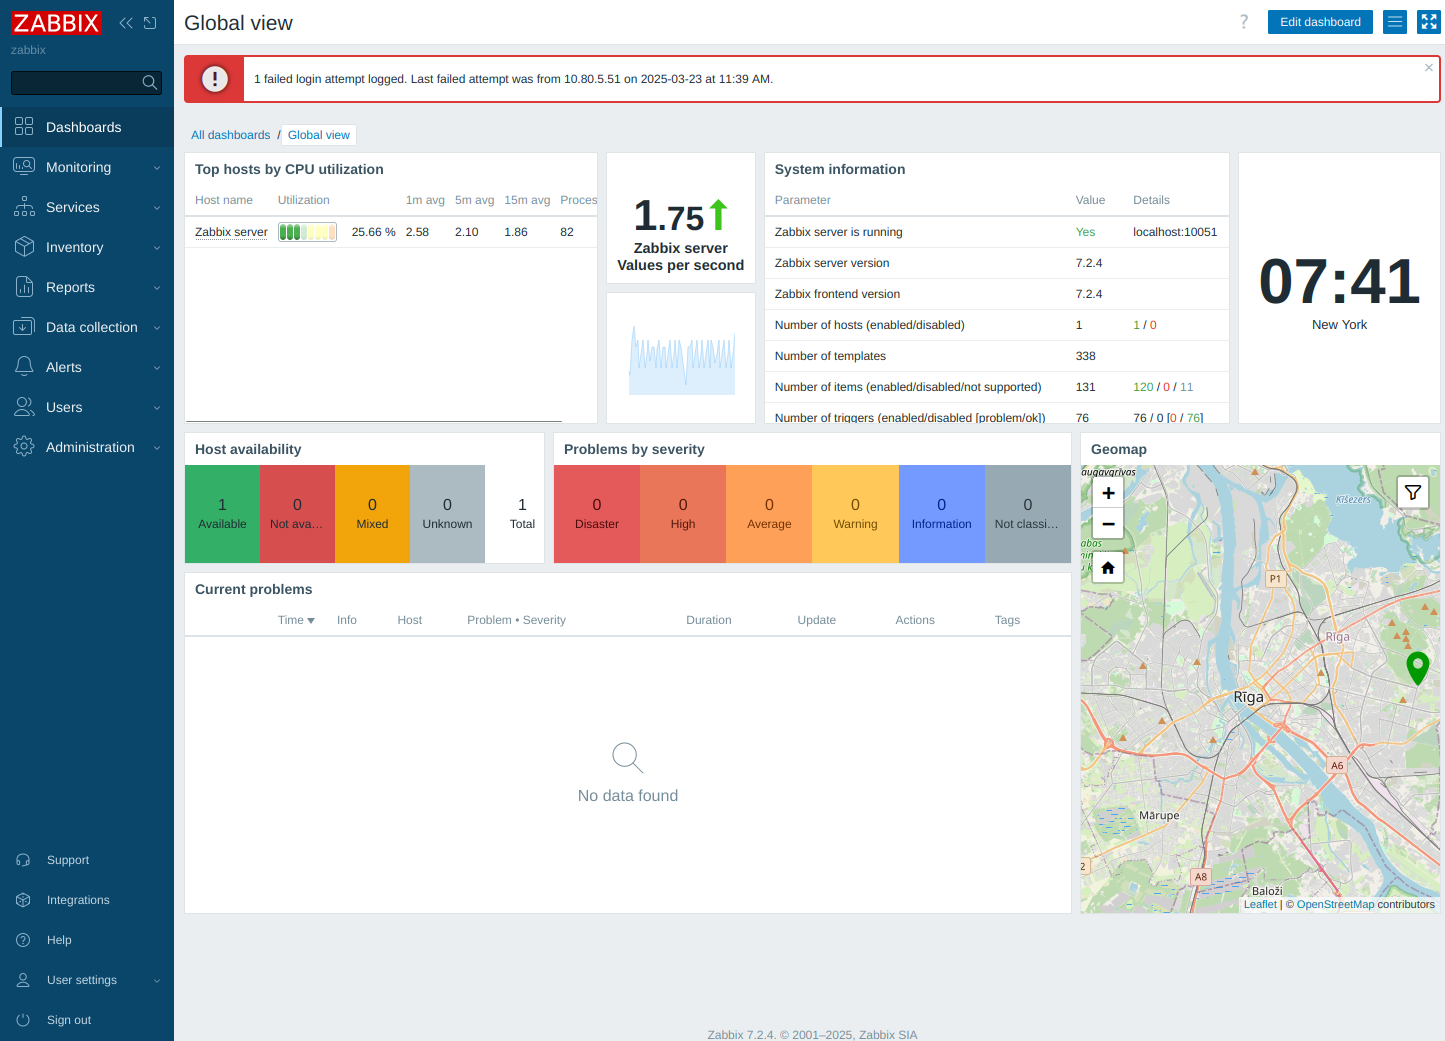
The default username is Admin, and the password is zabbix
-
Unable to negotiate with 10.10.1.35 port 22: no matching host key type found. Their offer: ssh-rsa,ssh-dss
While attempting ssh this error is generally due to mismatched versions of ssh, where an up to date version is attempting to access an older version
Add the following to your command :
The proper way:
ssh -o KexAlgorithms=diffie-hellman-group14-sha1 -oHostKeyAlgorithms=+ssh-dss 10.10.1.35The cheap way:
Example :
ssh -oHostKeyAlgorithms=+ssh-dss 10.10.1.35or ssh -oHostKeyAlgorithms=+ssh-dss user@10.10.1.35
This can be added to the ~/.ssh/config file
Host my-server HostName 10.10.1.35 HostKeyAlgorithms=+ssh-dss
-
Print command name running on port
sudo lsof -iTCP -sTCP:LISTEN -n -P | awk 'NR>1 {print $9, $1, $2}' | sed 's/.*://' | while read port process pid; do echo "Port $port: $(ps -p $pid -o command= | sed 's/^-//') (PID: $pid)"; done | sort -n
-
Locate hard drive and get information
ls -l /sys/block | grep sd.Output:
lrwxrwxrwx 1 root root 0 Jun 22 06:28 sda -> ../devices/pci0000:00/0000:00:1f.2/ata1/host0/target0:0:0/0:0:0:0/block/sda lrwxrwxrwx 1 root root 0 Jun 22 06:28 sdb -> ../devices/pci0000:00/0000:00:1f.2/ata2/host1/target1:0:0/1:0:0:0/block/sdb lrwxrwxrwx 1 root root 0 Jun 22 06:28 sdc -> ../devices/pci0000:00/0000:00:1f.2/ata3/host2/target2:0:0/2:0:0:0/block/sdc lrwxrwxrwx 1 root root 0 Jun 22 06:28 sdd -> ../devices/pci0000:00/0000:00:1f.2/ata4/host3/target3:0:0/3:0:0:0/block/sddOr for a more detailed view
strace -e trace=open lsblk NAME MAJ:MIN RM SIZE RO TYPE MOUNTPOINTS sda 8:0 0 3.6T 0 disk ├─data--2-data--2_tmeta 252:3 0 15.9G 0 lvm │ └─data--2-data--2-tpool 252:9 0 3.6T 0 lvm │ ├─data--2-data--2 252:10 0 3.6T 1 lvm │ ├─data--2-vm--101--disk--0 252:11 0 8G 0 lvm │ ├─data--2-vm--103--disk--0 252:12 0 32G 0 lvm │ ├─data--2-vm--107--disk--0 252:13 0 500G 0 lvm │ └─data--2-vm--108--disk--0 252:20 0 100G 0 lvm └─data--2-data--2_tdata 252:6 0 3.6T 0 lvm └─data--2-data--2-tpool 252:9 0 3.6T 0 lvm ├─data--2-data--2 252:10 0 3.6T 1 lvm ├─data--2-vm--101--disk--0 252:11 0 8G 0 lvm ├─data--2-vm--103--disk--0 252:12 0 32G 0 lvm ├─data--2-vm--107--disk--0 252:13 0 500G 0 lvm └─data--2-vm--108--disk--0 252:20 0 100G 0 lvm sdb 8:16 0 698.6G 0 disk └─sdb1 8:17 0 698.6G 0 part /mnt/pve/backups sdc 8:32 0 3.6T 0 disk ├─vm--data-vm--data_tmeta 252:4 0 15.9G 0 lvm │ └─vm--data-vm--data-tpool 252:14 0 3.6T 0 lvm │ ├─vm--data-vm--data 252:15 0 3.6T 1 lvm │ ├─vm--data-vm--100--disk--0 252:16 0 270G 0 lvm │ ├─vm--data-vm--102--disk--0 252:17 0 100G 0 lvm │ ├─vm--data-vm--104--disk--0 252:18 0 25G 0 lvm │ └─vm--data-vm--106--disk--0 252:19 0 32G 0 lvm └─vm--data-vm--data_tdata 252:7 0 3.6T 0 lvm └─vm--data-vm--data-tpool 252:14 0 3.6T 0 lvm ├─vm--data-vm--data 252:15 0 3.6T 1 lvm ├─vm--data-vm--100--disk--0 252:16 0 270G 0 lvm ├─vm--data-vm--102--disk--0 252:17 0 100G 0 lvm ├─vm--data-vm--104--disk--0 252:18 0 25G 0 lvm └─vm--data-vm--106--disk--0 252:19 0 32G 0 lvm sdd 8:48 0 931.5G 0 disk ├─sdd1 8:49 0 1007K 0 part ├─sdd2 8:50 0 1G 0 part └─sdd3 8:51 0 930.5G 0 part ├─pve-swap 252:0 0 8G 0 lvm [SWAP] ├─pve-root 252:1 0 96G 0 lvm / ├─pve-data_tmeta 252:2 0 8.1G 0 lvm │ └─pve-data 252:8 0 794.3G 0 lvm └─pve-data_tdata 252:5 0 794.3G 0 lvm └─pve-data 252:8 0 794.3G 0 lvm +++ exited with 0 +++ cat /proc/partitions major minor #blocks name 8 0 3907018584 sda 8 16 732574584 sdb 8 17 732572672 sdb1 8 32 3907018584 sdc 8 48 976762584 sdd 8 49 1007 sdd1 8 50 1048576 sdd2 8 51 975712967 sdd3 252 0 8388608 dm-0 252 1 100663296 dm-1 252 2 8495104 dm-2 252 3 16650240 dm-3 252 4 16650240 dm-4 252 6 3873329152 dm-6 252 5 832888832 dm-5 252 7 3873329152 dm-7 252 8 832888832 dm-8 252 9 3873329152 dm-9 252 10 3873329152 dm-10 252 11 8388608 dm-11 252 12 33554432 dm-12 252 13 524288000 dm-13 252 14 3873329152 dm-14 252 15 3873329152 dm-15 252 16 283115520 dm-16 252 17 104857600 dm-17 252 18 26214400 dm-18 252 19 33554432 dm-19 252 20 104857600 dm-20Locate drive by serial and model information
hdparm -i /dev/sda /dev/sda: Model=WDC WD4000FYYZ-05UL1B0, FwRev=00.0NS05, SerialNo=WD-WCC132262513 Config={ HardSect NotMFM HdSw>15uSec SpinMotCtl Fixed DTR>5Mbs FmtGapReq } RawCHS=16383/16/63, TrkSize=0, SectSize=0, ECCbytes=0 BuffType=unknown, BuffSize=unknown, MaxMultSect=16, MultSect=off CurCHS=16383/16/63, CurSects=16514064, LBA=yes, LBAsects=7814037168 IORDY=on/off, tPIO={min:120,w/IORDY:120}, tDMA={min:120,rec:120} PIO modes: pio0 pio3 pio4 DMA modes: mdma0 mdma1 mdma2 UDMA modes: udma0 udma1 udma2 udma3 udma4 udma5 *udma6 AdvancedPM=yes: unknown setting WriteCache=disabled Drive conforms to: Unspecified: ATA/ATAPI-1,2,3,4,5,6,7 * signifies the current active mode