FSCK disk repair
-
-p Automatic repair (no questions) -n Make no changes to the filesystem -y Assume "yes" to all questions -c Check for bad blocks and add them to the badblock list -f Force checking even if filesystem is marked clean -v Be verbose -b superblock Use alternative superblock -B blocksize Force blocksize when looking for superblock -j external_journal Set location of the external journal -l bad_blocks_file Add to badblocks list -L bad_blocks_file Set badblocks list -
FSCK(8) System Administration FSCK(8)
NAME fsck - check and repair a Linux filesystem
SYNOPSIS fsck [-lrsAVRTMNP] [-C [fd]] [-t fstype] [filesystem…] [–] [fs-specific-options]
DESCRIPTION:
fsck is used to check and optionally repair one or more Linux filesystems. filesys can be a device name (e.g. /dev/hdc1, /dev/sdb2), a mount point (e.g. /, /usr, /home), or an ext2 label or UUID specifier (e.g.UUID=8868abf6-88c5-4a83-98b8-bfc24057f7bd or LABEL=root).
Normally, the fsck program will try to handle filesystems on different physical disk drives in parallel to reduce the total amount of time needed to check all of them.
If no filesystems are specified on the command line, and the -A option is not specified, fsck will default to checking filesystems in /etc/fstab serially. This is equivalent to the -As options.
   The exit code returned by fsck is the sum of the following conditions:

          0      No errors
          1      Filesystem errors corrected
          2      System should be rebooted
          4      Filesystem errors left uncorrected
          8      Operational error
          16     Usage or syntax error
          32     Checking canceled by user request
          128    Shared-library error
The exit code returned when multiple filesystems are checked is the bit-wise OR of the exit codes for each filesystem that is checked.
In actuality, fsck is simply a front-end for the various filesystem checkers (fsck.fstype) available under Linux.
The filesystem-specific checker is searched for in /sbin first, then in /etc/fs and /etc, and finally in the directories listed in the PATH environment variable. Please see the filesystem-specific checker manual pages for further details.
OPTIONS:
-lLock the whole-disk device by an exclusive flock(2). This option can be used with one device only (this means that -A and -l are mutually exclusive). This option is recommended when more fsck(8) instances are executed in the same time.
The option is ignored when used for multiple devices or for non-rotating disks.
fsck does not lock underlying devices when executed to check stacked devices (e.g. MD or DM) – this feature is not implemented yet.
-rReport certain statistics for each fsck when it completes. These statistics include the exit status, the maximum run set size (in kilobytes), the elapsed all-clock time and the user and system CPU time used by the fsck run.
For example:
/dev/sda1: status 0, rss 92828, real 4.002804, user 2.677592, sys 0.86186-sSerialize fsck operations. This is a good idea if you are checking multiple filesystems and the checkers are in an interactive mode. (Note: e2fsck(8) runs in an interactive mode by default.
To make e2fsck(8) run in a non-interactive mode, you must either specify the -p or -a option, if you wish for errors to be corrected automatically, or the -n option if you do not.)
-tfslist
Specifies the type(s) of filesystem to be checked. When the -A flag is specified, only filesystems that match fslist are checked. The fslist parameter is a comma-separated list of filesystems and options specifiers.
All of the filesystems in this comma-separated list may be prefixed by a negation operator ‘no’ or ‘!’, which requests that only those filesystems not listed in fslist will be checked. If none of the filesystems in fslist is prefixed by a negation operator, then only those listed filesystems will be checked.
Options specifiers may be included in the comma-separated fslist. They must have the format opts=fs-option. If an options specifier is present, then only filesystems which contain fs-option in their mount options field of /etc/fstab will be checked.
If the options specifier is prefixed by a negation operator, then only those filesystems that do not have fs-option in their mount options field of /etc/fstab will be checked.
For example, if opts=ro appears in fslist, then only filesystems listed in /etc/fstab with the ro option will be checked.
For compatibility with Mandrake distributions whose boot scripts depend upon an unauthorized UI change to the fsck program, if a filesystem type of loop is found in fslist, it is treated as if opts=loop were specified as an argument to the -t option.
Normally, the filesystem type is deduced by searching for filesys in the /etc/fstab file and using the corresponding entry.
If the type can not be deduced, and there is only a single filesystem given as an argument to the -t option, fsck will use the specified filesystem type. If this type is not available, then the default filesystem type (currently ext2) is used.
-AWalk through the /etc/fstab file and try to check all filesystems in one run. This option is typically used from the /etc/rc system initialization file, instead of multiple commands for checking a single filesystem.
The root filesystem will be checked first unless the -P option is specified (see below). After that, filesystems will be checked in the order specified by the fs_passno (the sixth) field in the /etc/fstab file.
Filesystems with a fs_passno value of 0 are skipped and are not checked at all. Filesystems with a fs_passno value of greater than zero will be checked in order, with filesystems with the lowest fs_passno number being checked first.
If there are multiple filesystems with the same pass number, fsck will attempt to check them in parallel, although it will avoid running multiple filesystem checks on the same physical disk.
fsck does not check stacked devices (RAIDs, dm-crypt, …) in parallel with any other device. See below for FSCK_FORCE_ALL_PARALLEL setting. The /sys filesystem is used to determine dependencies between devices.
Hence, a very common configuration in /etc/fstab files is to set the root filesystem to have a fs_passno value of 1 and to set all other filesystems to have a fs_passno value of 2. This will allow fsck to automatically run filesystem checkers in parallel if it is advantageous to do so.
System administrators might choose not to use this configuration if they need to avoid multiple filesystem checks running in parallel for some reason — for example, if the machine in question is short on memory so that excessive paging is a concern.
fsck normally does not check whether the device actually exists before calling a filesystem specific checker. Therefore non-existing devices may cause the system to enter filesystem repair mode during boot if the filesystem specific checker returns a fatal error.
The /etc/fstab mount option nofail may be used to have fsck skip non-existing devices.
fsck also skips non-existing devices that have the special filesystem type auto.
-C [fd]Display completion/progress bars for those filesystem checkers (currently only for ext2 and ext3) which support them. fsck will manage the filesystem checkers so that only one of them will display a progress bar at a time.
GUI front-ends may specify a file descriptor fd, in which case the progress bar information will be sent to that file descriptor.
-MDo not check mounted filesystems and return an exit code of 0 for mounted filesystems.
-NDon’t execute, just show what would be done.
-PWhen the -A flag is set, check the root filesystem in parallel with the other filesystems.
This is not the safest thing in the world to do, since if the root filesystem is in doubt things like the e2fsck(8) executable might be corrupted!
This option is mainly provided for those sysadmins who don’t want to re partition the root filesystem to be small and compact (which is really the right solution).
-RWhen checking all filesystems with the -A flag, skip the root filesystem. (This is useful in case the root filesystem has already been mounted read-write.)
-TDon’t show the title on startup.
-VProduce verbose output, including all filesystem-specific commands that are executed.
fs-specific-options
Options which are not understood by fsck are passed to the filesystem-specific checker. These options must not take arguments, as there is no way for fsck to be able to properly guess which options take arguments and which don’t.
Options and arguments which follow the – are treated as filesystem-specific options to be passed to the filesystem-specific checker.
Please note that fsck is not designed to pass arbitrarily complicated options to filesystem-specific checkers.
If you’re doing something complicated, please just execute the filesystem-specific checker directly. If you pass fsck some horribly complicated options and arguments, and it doesn’t do what you expect, don’t bother reporting it as a bug. You’re almost certainly doing something that you shouldn’t be doing with fsck
Options to different filesystem-specific fsck’s are not standardized. If in doubt, please consult the man pages of the filesystem-specific checker.
Although not guaranteed, the following options are supported by most filesystem checkers:
-aAutomatically repair the filesystem without any questions (use this option with caution). Note that e2fsck(8) supports -a for backward compatibility only.
This option is mapped to e2fsck’s -p option which is safe to use, unlike the -a option that some filesystem checkers support.
-nFor some filesystem-specific checkers, the -n option will cause the fs-specific fsck to avoid attempting to repair any problems, but simply report such problems to stdout.
This is however not true for all filesystem-specific checkers. In particular, fsck.reiserfs(8) will not report any corruption if given this option.fsck.minix(8) does not support the -n option at all.
-rInteractively repair the filesystem (ask for confirmations). Note: It is generally a bad idea to use this option if multiple fsck’s are being run in parallel. Also note that this is e2fsck’s default behavior; it supports this option for backward compatibility reasons only.
-yFor some filesystem-specific checkers, the -y option will cause the fs-specific fsck to always attempt to fix any detected filesystem corruption automatically.
Sometimes an expert may be able to do better driving the fsck manually. Note that not all filesystem-specific checkers implement this option. In particular fsck.minix(8) and fsck.cramfs(8) do not support the -y option as of this writing.
FILES /etc/fstab.
ENVIRONMENT VARIABLES
The fsck program’s behavior is affected by the following environment variables:
FSCK_FORCE_ALL_PARALLEL
If this environment variable is set, fsck will attempt to check all of the specified filesystems in parallel, regardless of whether the filesystems appear to be on the same device. (This is useful for RAID systems or high-end storage systems such as those sold by companies such as IBM or EMC.) Note that the fs_passno value is still used.
FSCK_MAX_INST
This environment variable will limit the maximum number of filesystem checkers that can be running at one time. This allows configurations which have a large number of disks to avoid fsck starting too many filesystem checkers at once, which might overload CPU and memory resources available on the system.
If this value is zero, then an unlimited number of processes can be spawned. This is currently the default, but future versions of fsck may attempt to automatically determine how many filesystem checks can be run based on gathering accounting data from the operating system.
PATH
The PATH environment variable is used to find filesystem checkers. A set of system directories are searched first: /sbin, /sbin/fs.d, /sbin/fs, /etc/fs, and /etc. Then the set of directories found in the PATH environment are searched.
FSTAB_FILE
This environment variable allows the system administrator to override the standard location of the /etc/fstab file. It is also useful for developers who are testing fsck.
LIBBLKID_DEBUG=0xffff
enables debug output.
LIBMOUNT_DEBUG=0xffff
enables debug output.
SEE ALSO
fstab(5), mkfs(8), fsck.ext2(8) or fsck.ext3(8) or e2fsck(8), cramfsck(8), fsck.minix(8), fsck.msdos(8), fsck.jfs(8), fsck.nfs(8), fsck.vfat(8), fsck.xfs(8), fsck.xiafs(8), reiserfsck(8).
AUTHOR: Theodore Ts’o
AVAILABILITY The fsck command is part of the util-linux package and is available from Linux Kernel Archive ftp://ftp.kernel.org/pub/linux/utils/util-linux/.
-

Create a shell script that will dump the Redis database
cd ~ mkdir redi-backups-script cd redis-backups-script nano redis_backups-script.shPaste the script below:
#!/bin/bash rdb_file="/Place-directory-of-rdb-here/redis/dump.rdb" redis_cli="/usr/bin/redis-cli" DIR=`date +%d-%m-%y` DEST=~/redis_backups/$DIR mkdir $DEST echo save| $redis_cli exit 1Set script to executable:
chmod +x ~/scripts/redis_backups-script.shCreate a cron to run daily:
Then create a cron job to run the script every day at midnight:
crontab -e 0 0 * * * ~/redis-backups-script/redis_backup.shRestore RDB backup
Disable Append Only in the config:
nano /etc/redis/redis.conf appendonly noStop redis:
sudo service redis-server stopRestore the redis backup:
rename the rdb file you wish sudo cp /home/redis/dump.rdb /home/redis/dump.rdb.bak
You can then copy the backup rdb file as follows:
sudo cp /redis_backups/------/dump.rdb /home/redis/dump.rdbApply the proper permissions to the dump.rdb file:
sudo chmod 660 /home/redis/dump.rdbRe-starting Redis server
sudo service redis-server start
-
Install Zabbix 7.2 repo
wget https://repo.zabbix.com/zabbix/7.2/release/debian/pool/main/z/zabbix-release/zabbix-release_latest_7.2+debian12_all.deb
dpkg -i zabbix-release_latest_7.2+debian12_all.deb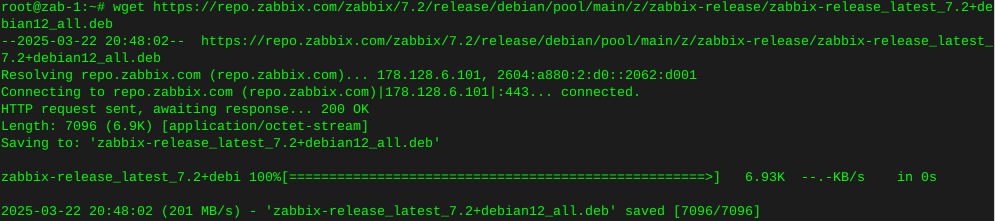

Update repos
apt update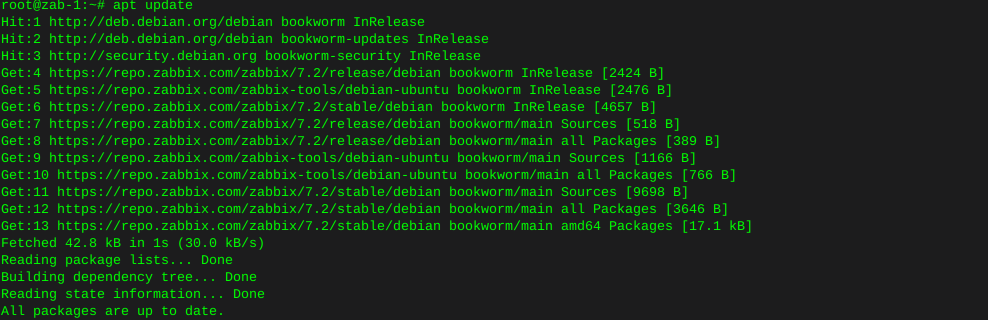
Install Zabbix server and frontend
apt install zabbix-server-mysql zabbix-frontend-php zabbix-nginx-conf zabbix-sql-scripts zabbix-agent2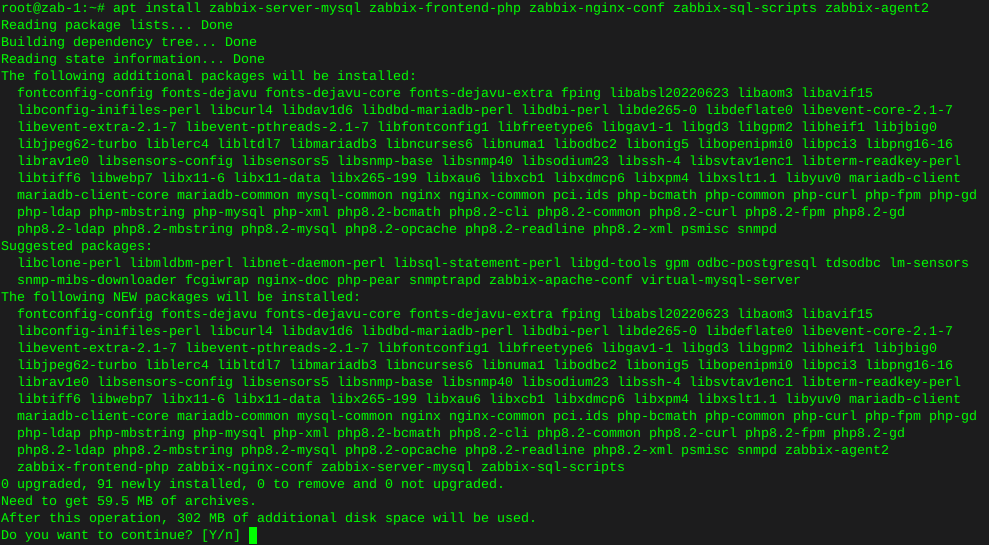
Install plugins
apt install zabbix-agent2-plugin-mongodb zabbix-agent2-plugin-mssql zabbix-agent2-plugin-postgresql
Install mysql
wget https://dev.mysql.com/get/mysql-apt-config_0.8.30-1_all.deb
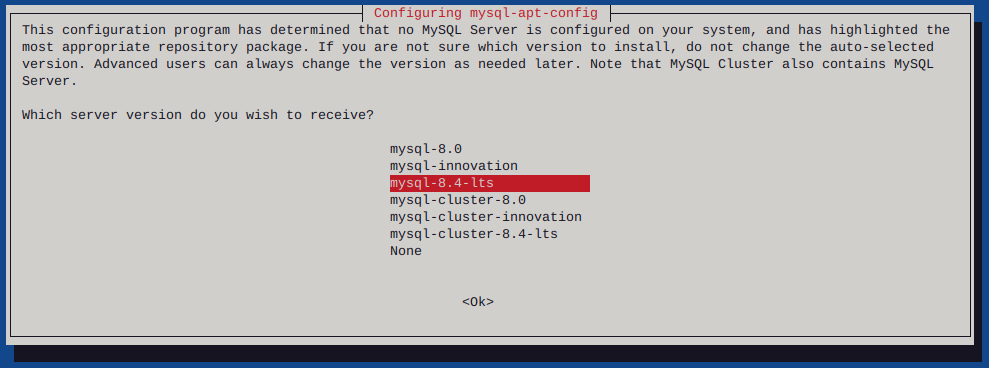
sudo dpkg -i mysql-apt-config_0.8.30-1_all.deb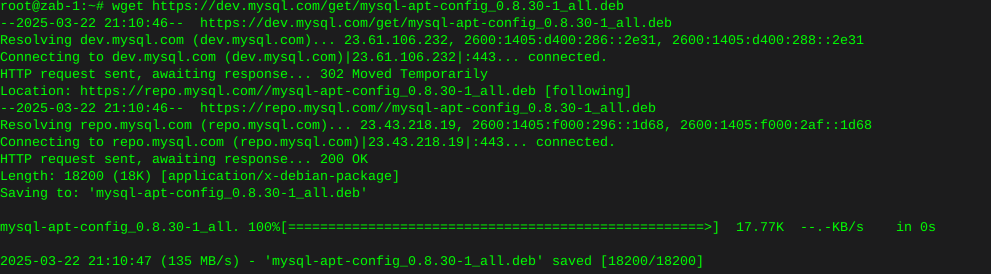
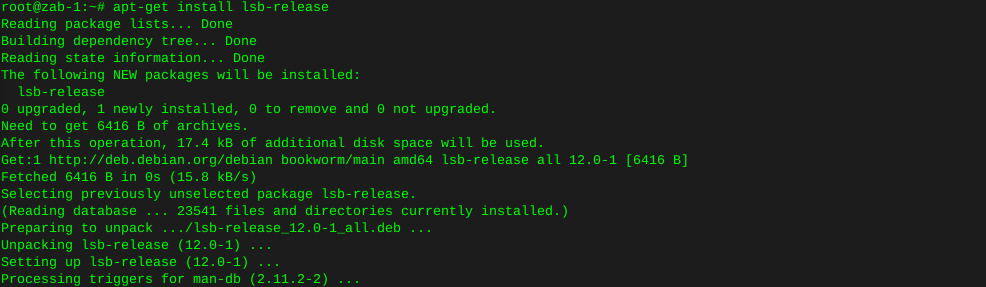
Error on this new install, where lsb-release is not installed
apt-get install lsb-release
Try again…
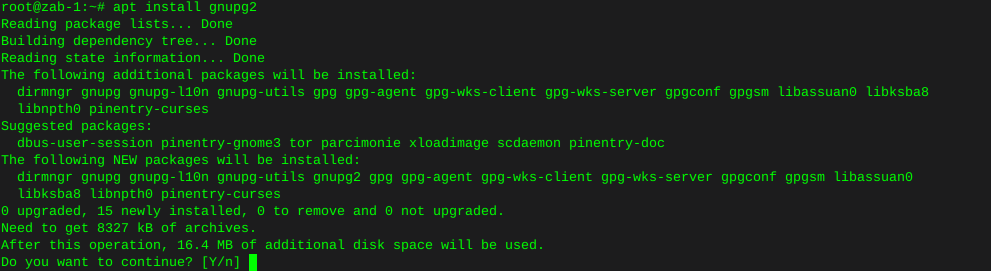
dpkg -i mysql-apt-config_0.8.30-1_all.debError, gnupg not installed
apt install gnupg2
Give it another go…
dpkg -i mysql-apt-config_0.8.30-1_all.deb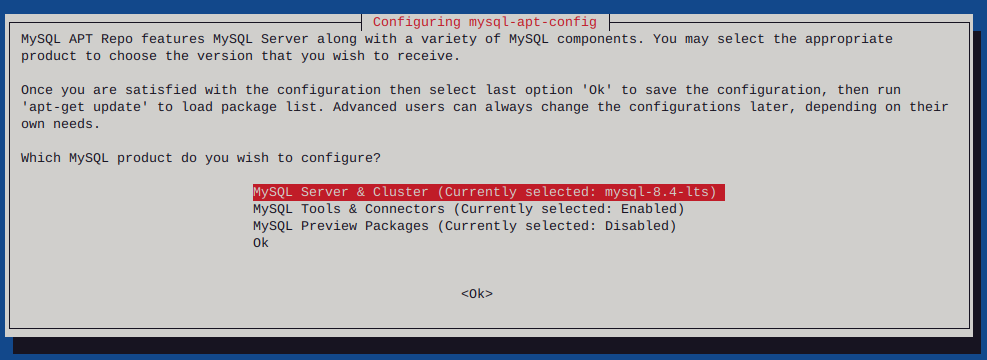
I had to list upgradable packages :
apt-list --upgradableWhich spit out : mysql-common/unknown 8.4.4-1debian12 all [upgradable from: 5.8+1.1.0]
Then installed mysql-common
apt-get install mysql-common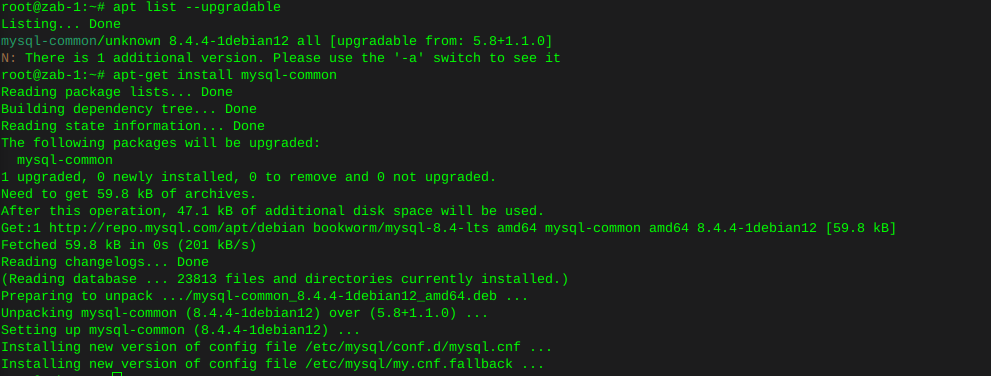
Had to uninstall Mariadb to resolve these conflicts
apt remove mariadb-client-coreThen install mysql-server:
apt install mysql-server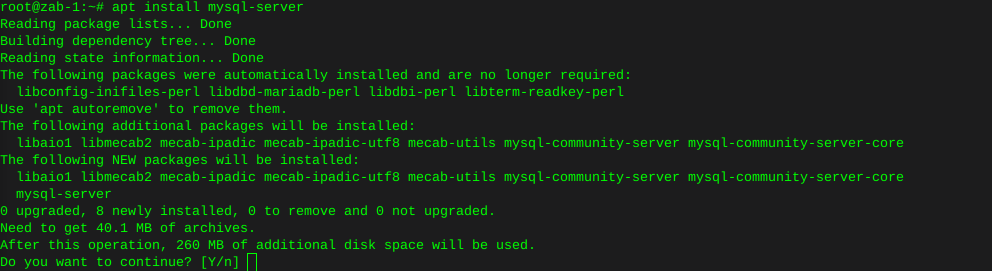
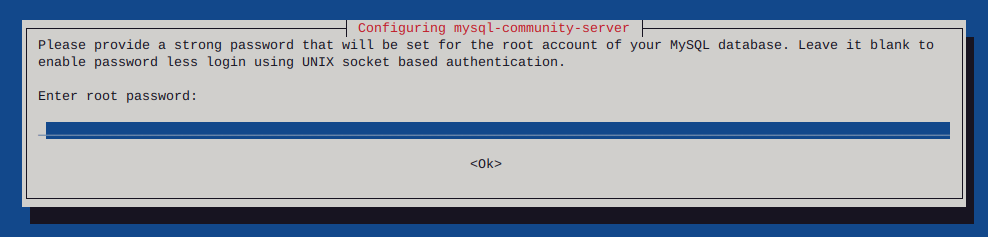
Enter your password, twice
Now enter mysql by typing :
mysql -u root -p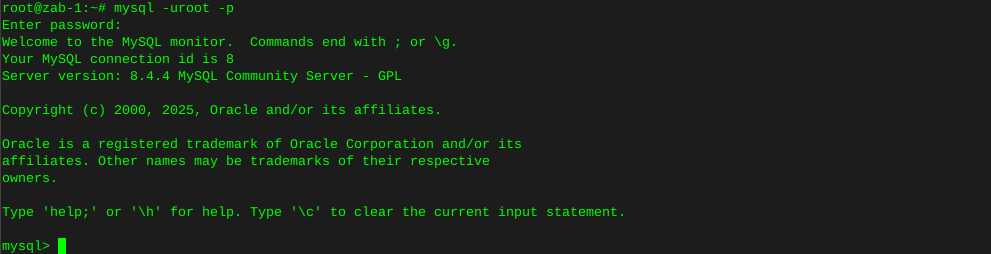
Enter the following command individually Where ‘password’ is where you type in your actual own password
mysql> create database zabbix character set utf8mb4 collate utf8mb4_bin; mysql> create user zabbix@localhost identified by 'password'; mysql> grant all privileges on zabbix.* to zabbix@localhost; mysql> set global log_bin_trust_function_creators = 1; mysql> quit;Populate the database with zabbix script
zcat /usr/share/zabbix/sql-scripts/mysql/server.sql.gz | mysql --default-character-set=utf8mb4 -uzabbix -p zabbix mysql --u root -p set global log_bin_trust_function_creators = 0; quit;Edit file /etc/zabbix/zabbix_server.conf You can use nano
nano /etc/zabbix/zabbix_server.confUncomment the DBPassword section, and type your password
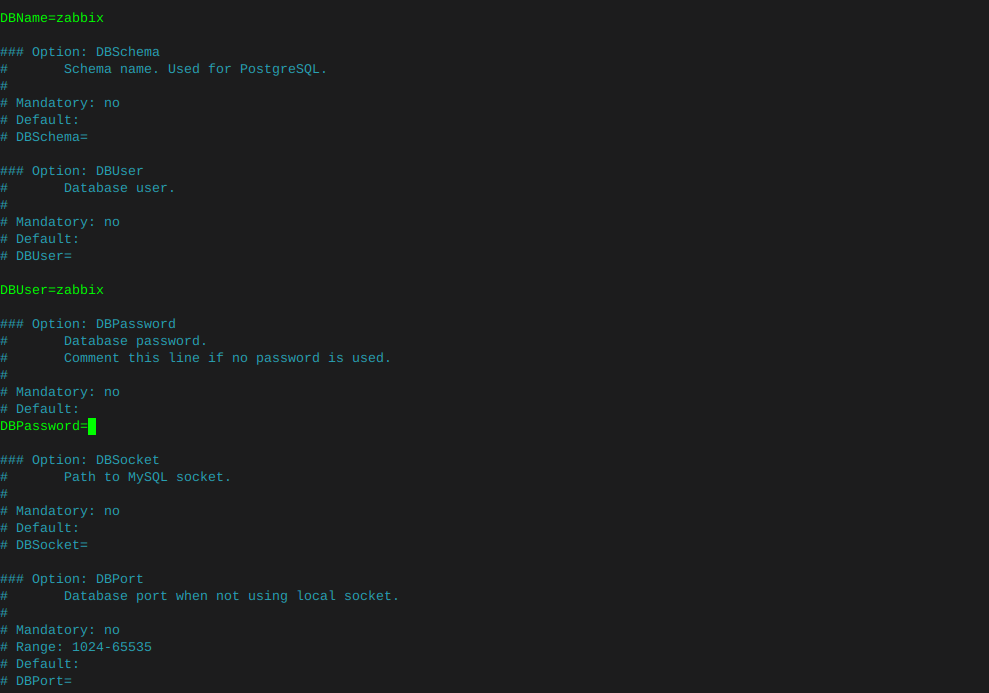
Then hold ctrl and tap x, it will ask if you want to save changes.
Enable services:
systemctl enable zabbix-server zabbix-agent2 nginx php8.2-fpm systemctl restart zabbix-server zabbix-agent2 nginx php8.2-fpmCheck that zabbix service has started
journalctl -xeu zabbix-server.service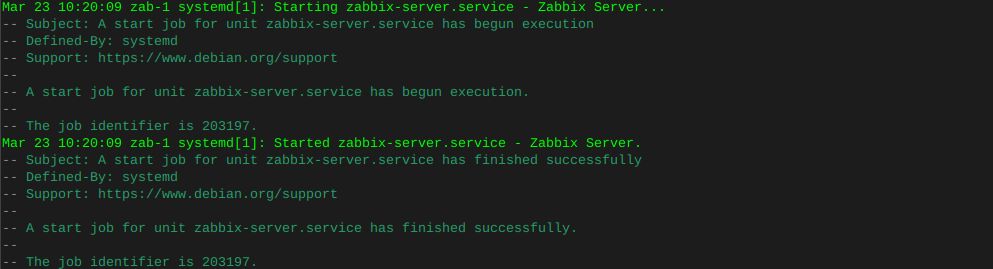
Delete the 'default site in nginx
sudo rm -rf /etc/nginx/sites-enabled/defaultMake sure the symbolic link to the zabbix nginx file is present
ln -s /etc/zabbix/nginx.conf /etc/nginx/sites-enabled/zabbix.confCheck that the zabbix nginx file is in the includes in nginx config
nano /etc/nginx/nginx.confLook for :
include /etc/nginx/sites-enabled/*Now restart nginx
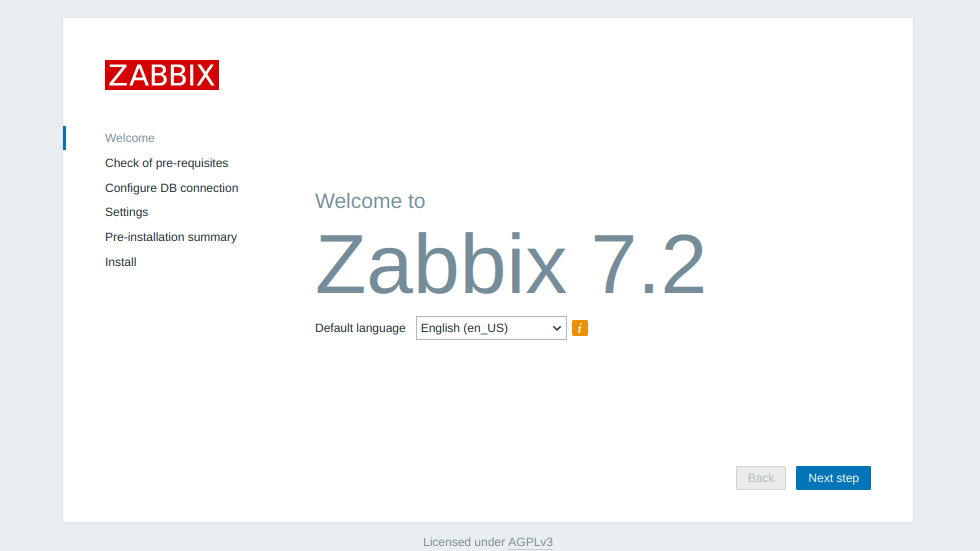
systemctl restart nginxHit the browser and type in the IP (or URL that you may have put in the zabbix nginx config file)
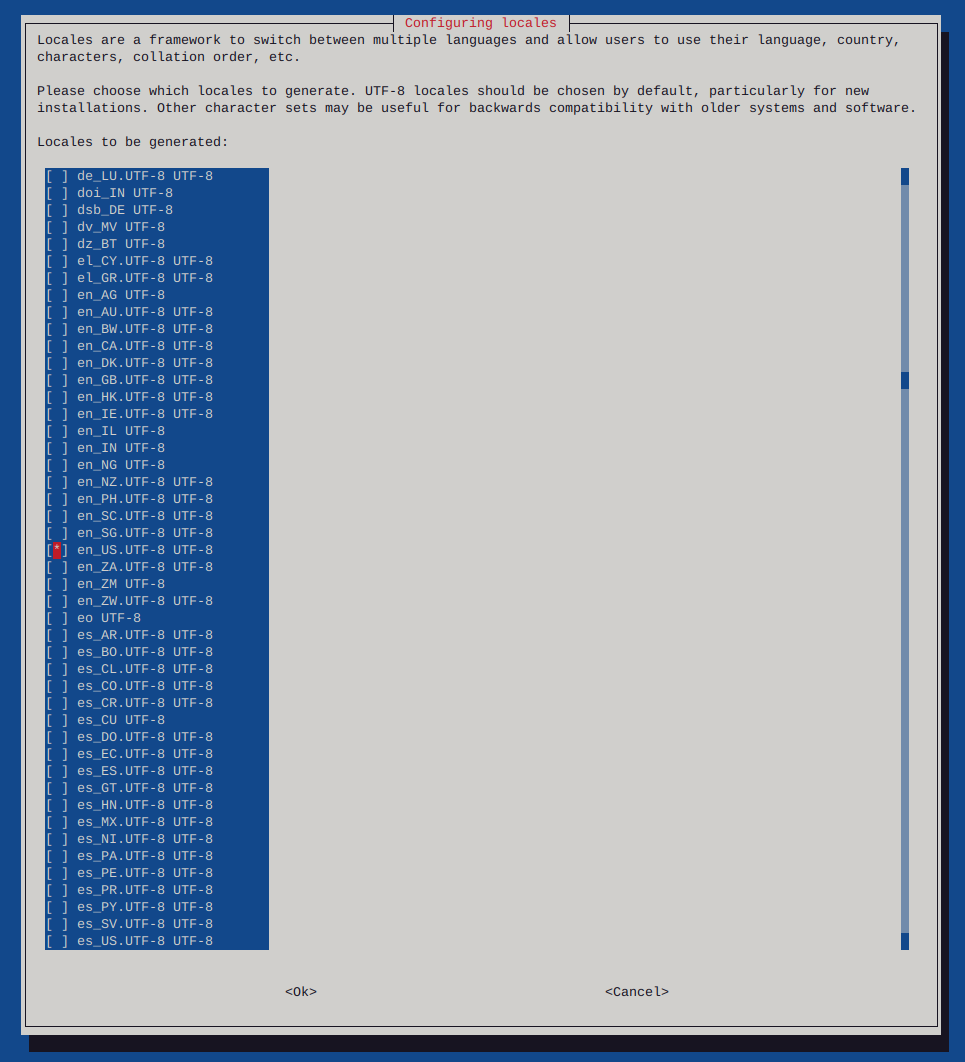
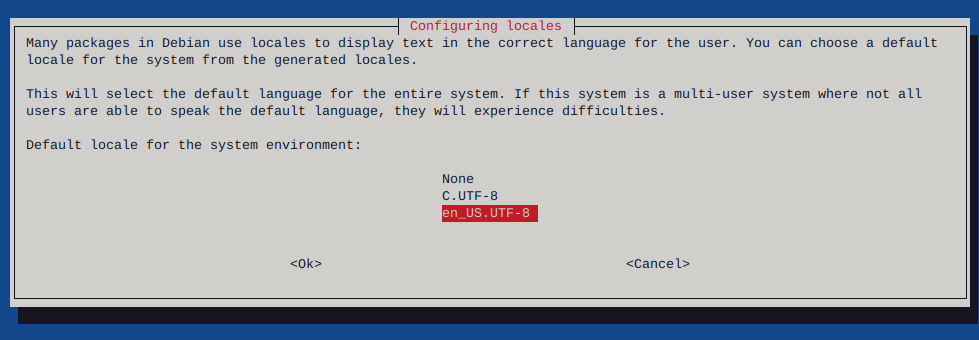
Make sure to configure locales
sudo dpkg-reconfigure locales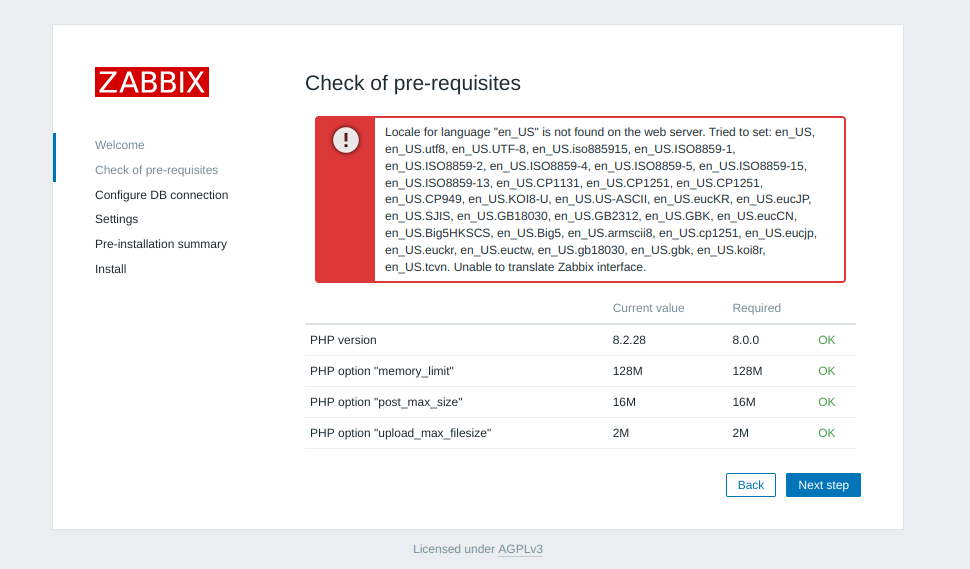

Reboot the system
sudo shutdown -r now
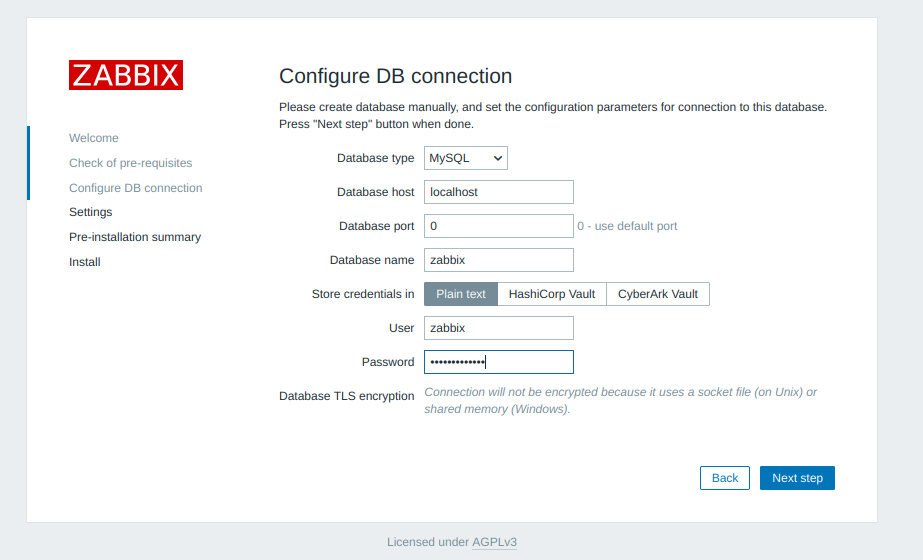
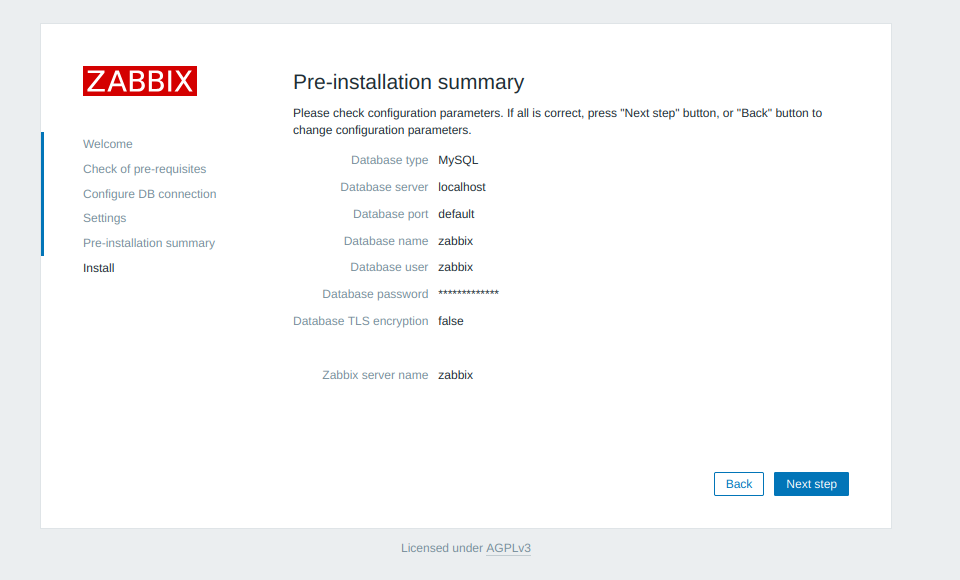
Add your database password
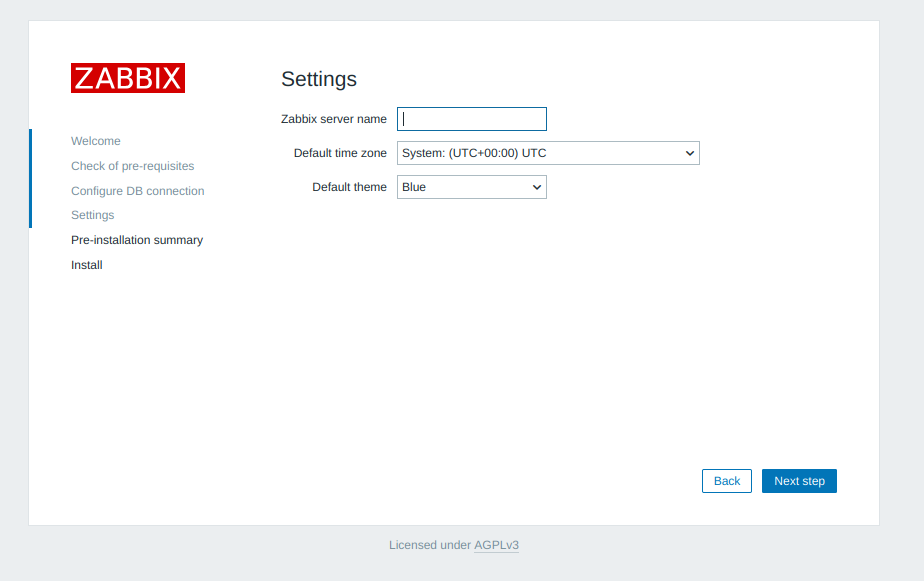
Add a server name
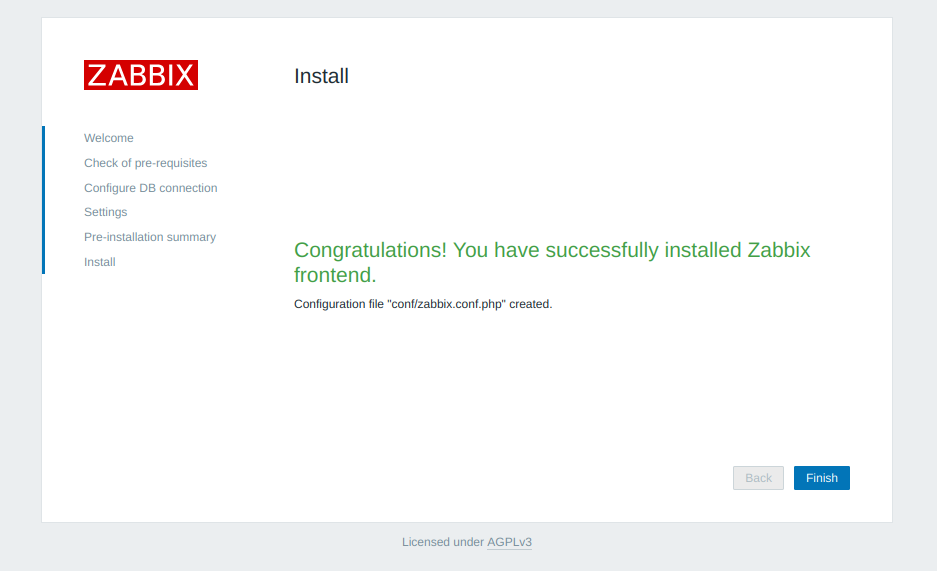
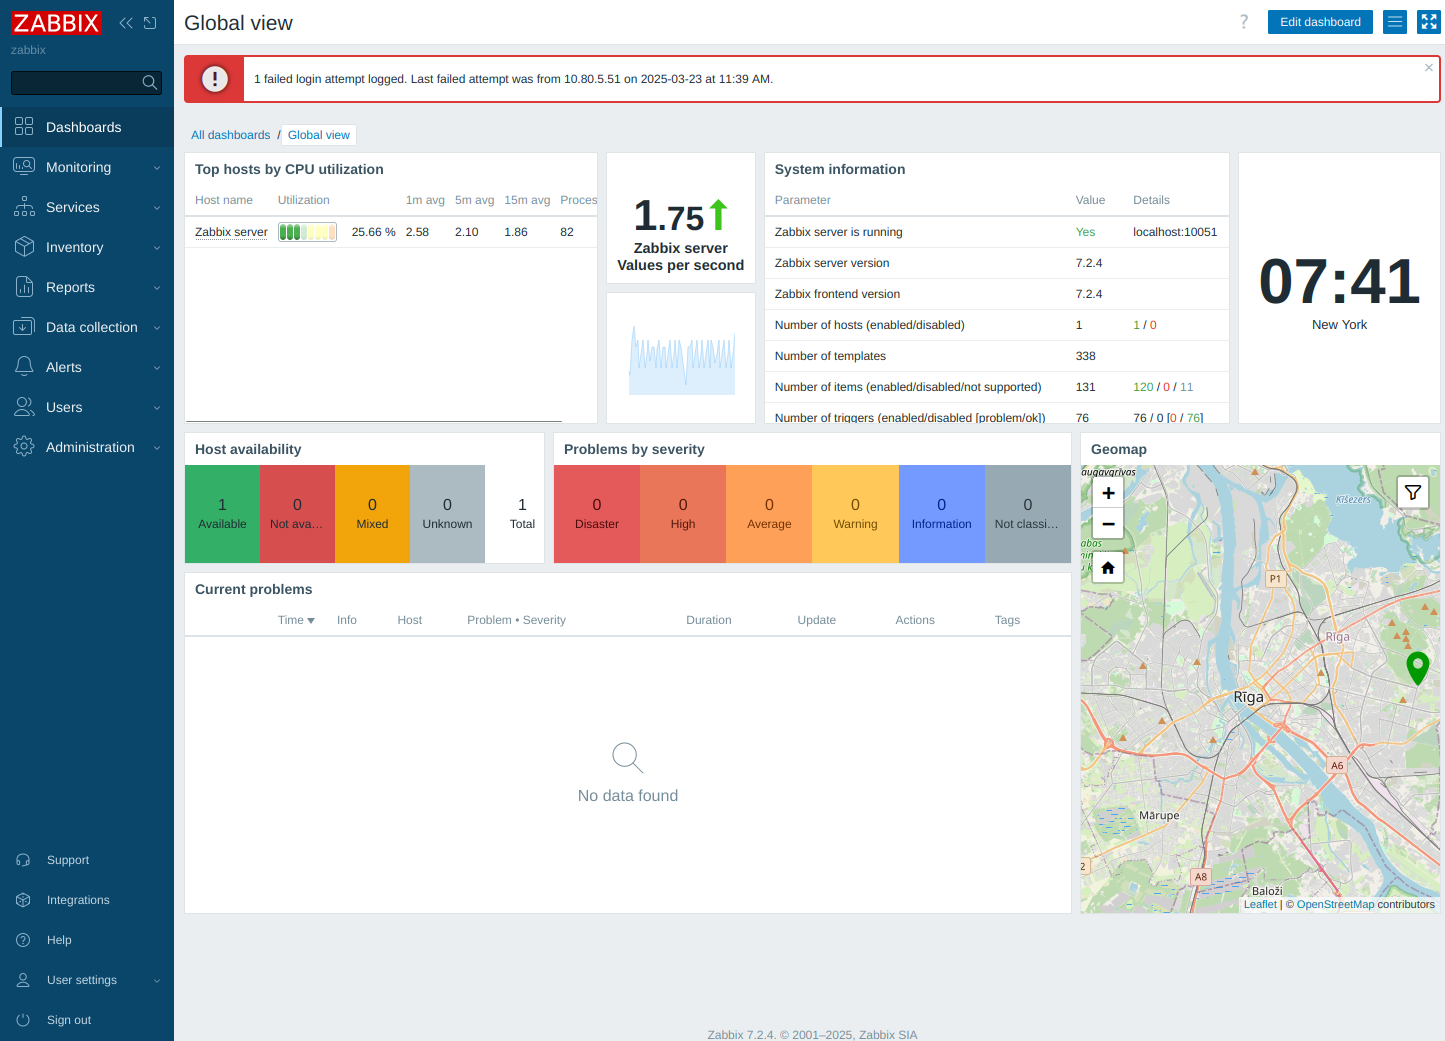
The default username is Admin, and the password is zabbix
-
Unable to negotiate with 10.10.1.35 port 22: no matching host key type found. Their offer: ssh-rsa,ssh-dss
While attempting ssh this error is generally due to mismatched versions of ssh, where an up to date version is attempting to access an older version
Add the following to your command :
The proper way:
ssh -o KexAlgorithms=diffie-hellman-group14-sha1 -oHostKeyAlgorithms=+ssh-dss 10.10.1.35The cheap way:
Example :
ssh -oHostKeyAlgorithms=+ssh-dss 10.10.1.35or ssh -oHostKeyAlgorithms=+ssh-dss user@10.10.1.35
This can be added to the ~/.ssh/config file
Host my-server HostName 10.10.1.35 HostKeyAlgorithms=+ssh-dss
-
Locate hard drive and get information
ls -l /sys/block | grep sd.Output:
lrwxrwxrwx 1 root root 0 Jun 22 06:28 sda -> ../devices/pci0000:00/0000:00:1f.2/ata1/host0/target0:0:0/0:0:0:0/block/sda lrwxrwxrwx 1 root root 0 Jun 22 06:28 sdb -> ../devices/pci0000:00/0000:00:1f.2/ata2/host1/target1:0:0/1:0:0:0/block/sdb lrwxrwxrwx 1 root root 0 Jun 22 06:28 sdc -> ../devices/pci0000:00/0000:00:1f.2/ata3/host2/target2:0:0/2:0:0:0/block/sdc lrwxrwxrwx 1 root root 0 Jun 22 06:28 sdd -> ../devices/pci0000:00/0000:00:1f.2/ata4/host3/target3:0:0/3:0:0:0/block/sddOr for a more detailed view
strace -e trace=open lsblk NAME MAJ:MIN RM SIZE RO TYPE MOUNTPOINTS sda 8:0 0 3.6T 0 disk ├─data--2-data--2_tmeta 252:3 0 15.9G 0 lvm │ └─data--2-data--2-tpool 252:9 0 3.6T 0 lvm │ ├─data--2-data--2 252:10 0 3.6T 1 lvm │ ├─data--2-vm--101--disk--0 252:11 0 8G 0 lvm │ ├─data--2-vm--103--disk--0 252:12 0 32G 0 lvm │ ├─data--2-vm--107--disk--0 252:13 0 500G 0 lvm │ └─data--2-vm--108--disk--0 252:20 0 100G 0 lvm └─data--2-data--2_tdata 252:6 0 3.6T 0 lvm └─data--2-data--2-tpool 252:9 0 3.6T 0 lvm ├─data--2-data--2 252:10 0 3.6T 1 lvm ├─data--2-vm--101--disk--0 252:11 0 8G 0 lvm ├─data--2-vm--103--disk--0 252:12 0 32G 0 lvm ├─data--2-vm--107--disk--0 252:13 0 500G 0 lvm └─data--2-vm--108--disk--0 252:20 0 100G 0 lvm sdb 8:16 0 698.6G 0 disk └─sdb1 8:17 0 698.6G 0 part /mnt/pve/backups sdc 8:32 0 3.6T 0 disk ├─vm--data-vm--data_tmeta 252:4 0 15.9G 0 lvm │ └─vm--data-vm--data-tpool 252:14 0 3.6T 0 lvm │ ├─vm--data-vm--data 252:15 0 3.6T 1 lvm │ ├─vm--data-vm--100--disk--0 252:16 0 270G 0 lvm │ ├─vm--data-vm--102--disk--0 252:17 0 100G 0 lvm │ ├─vm--data-vm--104--disk--0 252:18 0 25G 0 lvm │ └─vm--data-vm--106--disk--0 252:19 0 32G 0 lvm └─vm--data-vm--data_tdata 252:7 0 3.6T 0 lvm └─vm--data-vm--data-tpool 252:14 0 3.6T 0 lvm ├─vm--data-vm--data 252:15 0 3.6T 1 lvm ├─vm--data-vm--100--disk--0 252:16 0 270G 0 lvm ├─vm--data-vm--102--disk--0 252:17 0 100G 0 lvm ├─vm--data-vm--104--disk--0 252:18 0 25G 0 lvm └─vm--data-vm--106--disk--0 252:19 0 32G 0 lvm sdd 8:48 0 931.5G 0 disk ├─sdd1 8:49 0 1007K 0 part ├─sdd2 8:50 0 1G 0 part └─sdd3 8:51 0 930.5G 0 part ├─pve-swap 252:0 0 8G 0 lvm [SWAP] ├─pve-root 252:1 0 96G 0 lvm / ├─pve-data_tmeta 252:2 0 8.1G 0 lvm │ └─pve-data 252:8 0 794.3G 0 lvm └─pve-data_tdata 252:5 0 794.3G 0 lvm └─pve-data 252:8 0 794.3G 0 lvm +++ exited with 0 +++ cat /proc/partitions major minor #blocks name 8 0 3907018584 sda 8 16 732574584 sdb 8 17 732572672 sdb1 8 32 3907018584 sdc 8 48 976762584 sdd 8 49 1007 sdd1 8 50 1048576 sdd2 8 51 975712967 sdd3 252 0 8388608 dm-0 252 1 100663296 dm-1 252 2 8495104 dm-2 252 3 16650240 dm-3 252 4 16650240 dm-4 252 6 3873329152 dm-6 252 5 832888832 dm-5 252 7 3873329152 dm-7 252 8 832888832 dm-8 252 9 3873329152 dm-9 252 10 3873329152 dm-10 252 11 8388608 dm-11 252 12 33554432 dm-12 252 13 524288000 dm-13 252 14 3873329152 dm-14 252 15 3873329152 dm-15 252 16 283115520 dm-16 252 17 104857600 dm-17 252 18 26214400 dm-18 252 19 33554432 dm-19 252 20 104857600 dm-20Locate drive by serial and model information
hdparm -i /dev/sda /dev/sda: Model=WDC WD4000FYYZ-05UL1B0, FwRev=00.0NS05, SerialNo=WD-WCC132262513 Config={ HardSect NotMFM HdSw>15uSec SpinMotCtl Fixed DTR>5Mbs FmtGapReq } RawCHS=16383/16/63, TrkSize=0, SectSize=0, ECCbytes=0 BuffType=unknown, BuffSize=unknown, MaxMultSect=16, MultSect=off CurCHS=16383/16/63, CurSects=16514064, LBA=yes, LBAsects=7814037168 IORDY=on/off, tPIO={min:120,w/IORDY:120}, tDMA={min:120,rec:120} PIO modes: pio0 pio3 pio4 DMA modes: mdma0 mdma1 mdma2 UDMA modes: udma0 udma1 udma2 udma3 udma4 udma5 *udma6 AdvancedPM=yes: unknown setting WriteCache=disabled Drive conforms to: Unspecified: ATA/ATAPI-1,2,3,4,5,6,7 * signifies the current active mode
-
Screen recording can use webm as their format, it can be more simple to use a gif to embed into a website or forum, than adding scripts to host different video format.
In this case I grabbed a screen record of the progress for writing zeros to a hard drive with dd
Use ffmpeg to convert webm to gif:
First create a pallet:
Move into the directory which the webm is located, or type in the path
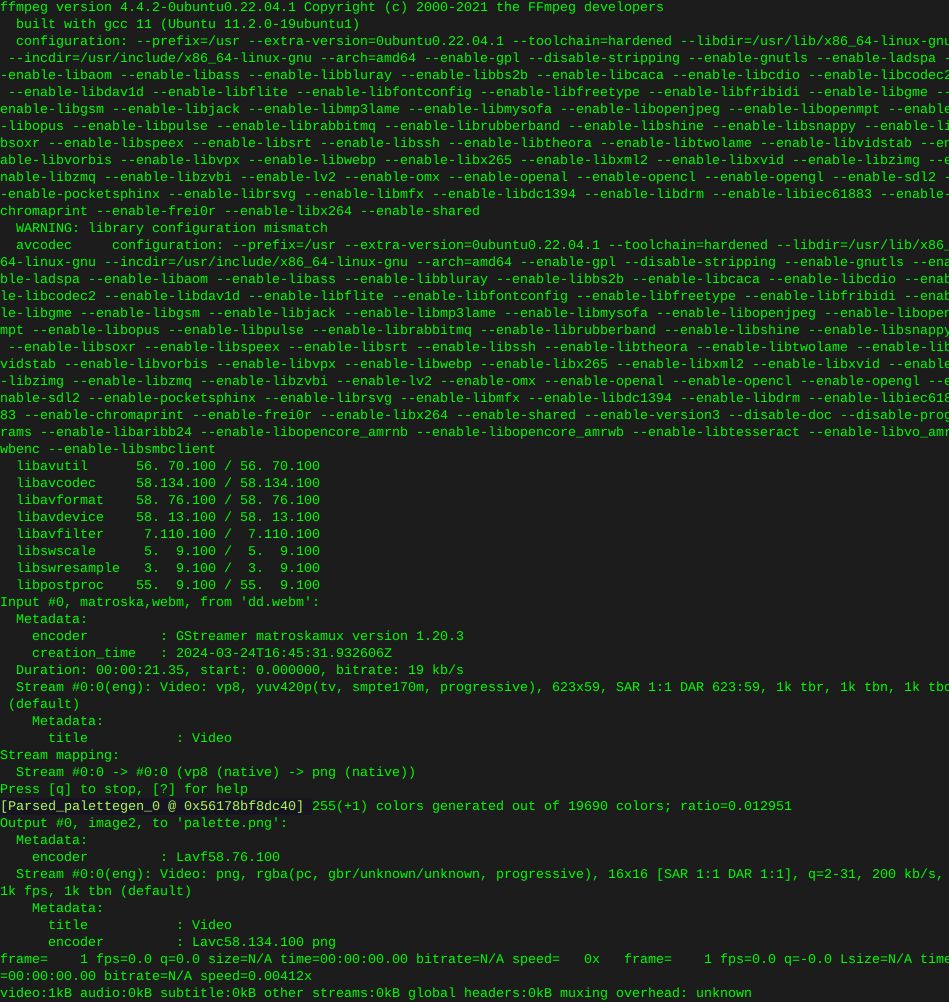
Where ‘dd.webm’ is the screen recording
ffmpeg -y -i dd.webm -vf palettegen palette.pngOutput:
Then convert the webm to gif:
ffmpeg -y -i dd.webm -i palette.png -filter_complex paletteuse -r 10 dd.gif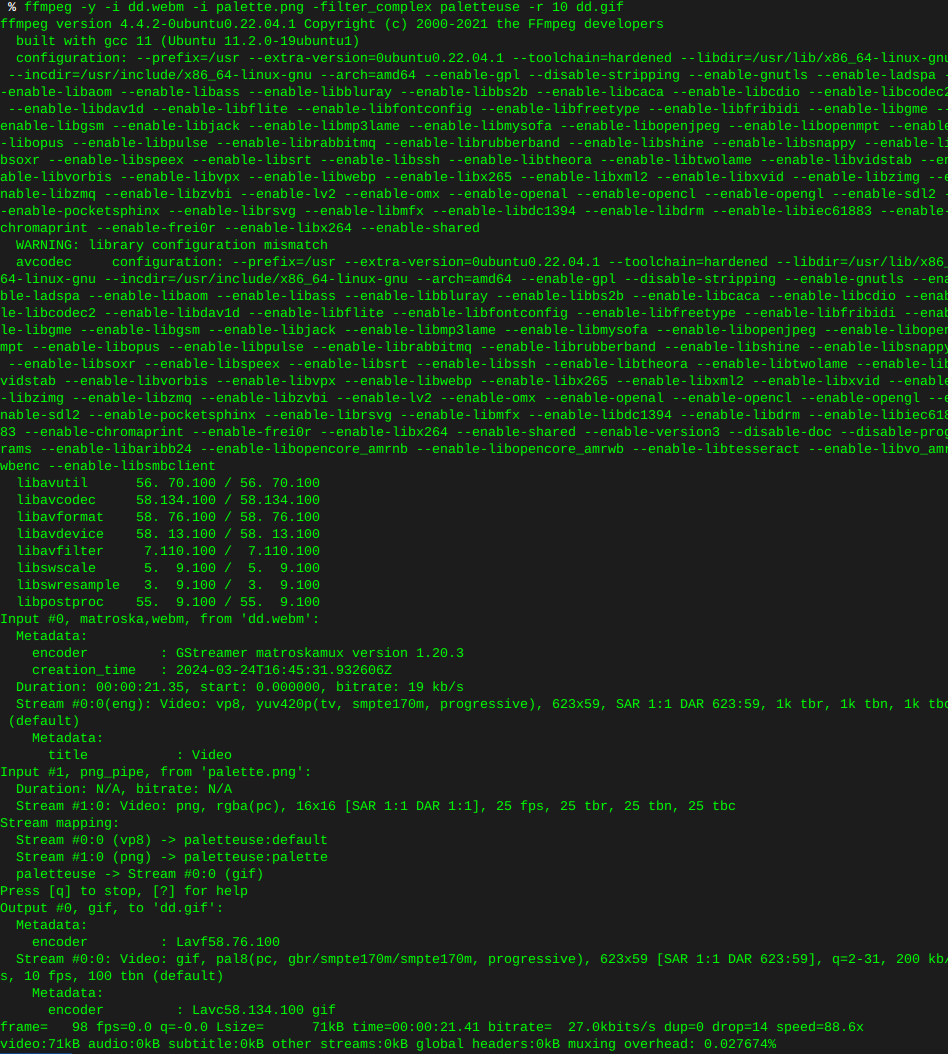
This is what I ended up with, looks like any image of any alien on the interwebz, as if shot through a potato, some tweaking of the command is in my future. None the less.
