iperf test

-
iPerf3 from iPerf.fr:
-
iPerf3 is a tool for active measurements of the maximum achievable bandwidth on IP networks. It supports tuning of various parameters related to timing, buffers and protocols (TCP, UDP, SCTP with IPv4 and IPv6).
-
For each test it reports the bandwidth, loss, and other parameters. This is a new implementation that shares no code with the original iPerf and also is not backwards compatible.
-
iPerf was orginally developed by NLANR/DAST. iPerf3 is principally developed by ESnet / Lawrence Berkeley National Laboratory. It is released under a three-clause BSD license.
Install iperf Debian
apt-get install iperf3Starting a local server is not necessary if testing to a remote server.Example test server:
iperf -c ping.online.net -i 2 -t 20 -r
Start iperf server
To start Iperf in server mode, use the below command.
iperf -s
Start server in daemon mode
Running the server without daemon mode keeps the process running in the terminal. Use the -D switch to run it as a daemon in the background.
iperf -s -D
Connecting to server from client
Iperf needs to run on the local host in client mode, as well as in server mode on the remote host. To connect to the remote host, add it’s IP address after the -c switch.
iperf -c <ip or host/domain name>Bi-directional simultaneous (test the speed both ways at the same time)
Use the -d switch to test in the network bandwidth in both directions. This will perform two tests; one from local host to remote host, and another from the remote host to the local host.
iperf -c <ip or host/domain name> -d
Bi-directional testing (test the speed both one after another)
Use the -r switch to test in the network bandwidth in both directions. This is similar to -d except the tests will be performed in sequence; first from local host to remote host, and another from the remote host to the local host.
iperf -c <ip or host/domain name> -rChange the window size
The TCP window size can be changed using the -w switch followed by the number of bytes to use. the below example shows a window size of 2KB. This can be used on either the server or the client.
iperf -c <ip or host/domain name> -w 2048

iperf -s -w 2048
Change the port
You must use the same port on both the client and the server for the two processes to communicate with each other. Use the -p switch followed by the port number to use on both the local and remote host.
iperf -c <ip or host/domain name> -p 9000

iperf -s -p 9000
Change the test duration
The default test duration of Iperf is 10 seconds. You can override the default with the -t switch followed by the time in seconds the test should last.
iperf -s -t 60
UDP instead of TCP
The default protocol for Iperf to use is TCP. You can change this to UDP with the -u switch. You will need to run both the client and server in UDP mode to perform the tests.
iperf -s -u
iperf -c -u
The result will have an extra metric for the packet loss which should be as low as possible, otherwise the packets will have to be re-transmitted using more bandwidth.
Run multiple threads
Iperf can spawn multiple threads to simultaneously send and receive data. Use the -P switch followed by the number of threads to use.
iperf -c -P 4
Check the version of Iperf
Use the -v switch to see the version of Iperf you have installed.
iperf -v
See the full list of arguments
Use the -h switch to see the full list of arguments supported by Iperf.
iperf -hA nice list of iPerf servers can be found at iPerf.fr
-

-
Unable to negotiate with 10.10.1.35 port 22: no matching host key type found. Their offer: ssh-rsa,ssh-dss
While attempting ssh this error is generally due to mismatched versions of ssh, where an up to date version is attempting to access an older version
Add the following to your command :
The proper way:
ssh -o KexAlgorithms=diffie-hellman-group14-sha1 -oHostKeyAlgorithms=+ssh-dss 10.10.1.35The cheap way:
Example :
ssh -oHostKeyAlgorithms=+ssh-dss 10.10.1.35or ssh -oHostKeyAlgorithms=+ssh-dss user@10.10.1.35
This can be added to the ~/.ssh/config file
Host my-server HostName 10.10.1.35 HostKeyAlgorithms=+ssh-dss
-
Locate hard drive and get information
ls -l /sys/block | grep sd.Output:
lrwxrwxrwx 1 root root 0 Jun 22 06:28 sda -> ../devices/pci0000:00/0000:00:1f.2/ata1/host0/target0:0:0/0:0:0:0/block/sda lrwxrwxrwx 1 root root 0 Jun 22 06:28 sdb -> ../devices/pci0000:00/0000:00:1f.2/ata2/host1/target1:0:0/1:0:0:0/block/sdb lrwxrwxrwx 1 root root 0 Jun 22 06:28 sdc -> ../devices/pci0000:00/0000:00:1f.2/ata3/host2/target2:0:0/2:0:0:0/block/sdc lrwxrwxrwx 1 root root 0 Jun 22 06:28 sdd -> ../devices/pci0000:00/0000:00:1f.2/ata4/host3/target3:0:0/3:0:0:0/block/sddOr for a more detailed view
strace -e trace=open lsblk NAME MAJ:MIN RM SIZE RO TYPE MOUNTPOINTS sda 8:0 0 3.6T 0 disk ├─data--2-data--2_tmeta 252:3 0 15.9G 0 lvm │ └─data--2-data--2-tpool 252:9 0 3.6T 0 lvm │ ├─data--2-data--2 252:10 0 3.6T 1 lvm │ ├─data--2-vm--101--disk--0 252:11 0 8G 0 lvm │ ├─data--2-vm--103--disk--0 252:12 0 32G 0 lvm │ ├─data--2-vm--107--disk--0 252:13 0 500G 0 lvm │ └─data--2-vm--108--disk--0 252:20 0 100G 0 lvm └─data--2-data--2_tdata 252:6 0 3.6T 0 lvm └─data--2-data--2-tpool 252:9 0 3.6T 0 lvm ├─data--2-data--2 252:10 0 3.6T 1 lvm ├─data--2-vm--101--disk--0 252:11 0 8G 0 lvm ├─data--2-vm--103--disk--0 252:12 0 32G 0 lvm ├─data--2-vm--107--disk--0 252:13 0 500G 0 lvm └─data--2-vm--108--disk--0 252:20 0 100G 0 lvm sdb 8:16 0 698.6G 0 disk └─sdb1 8:17 0 698.6G 0 part /mnt/pve/backups sdc 8:32 0 3.6T 0 disk ├─vm--data-vm--data_tmeta 252:4 0 15.9G 0 lvm │ └─vm--data-vm--data-tpool 252:14 0 3.6T 0 lvm │ ├─vm--data-vm--data 252:15 0 3.6T 1 lvm │ ├─vm--data-vm--100--disk--0 252:16 0 270G 0 lvm │ ├─vm--data-vm--102--disk--0 252:17 0 100G 0 lvm │ ├─vm--data-vm--104--disk--0 252:18 0 25G 0 lvm │ └─vm--data-vm--106--disk--0 252:19 0 32G 0 lvm └─vm--data-vm--data_tdata 252:7 0 3.6T 0 lvm └─vm--data-vm--data-tpool 252:14 0 3.6T 0 lvm ├─vm--data-vm--data 252:15 0 3.6T 1 lvm ├─vm--data-vm--100--disk--0 252:16 0 270G 0 lvm ├─vm--data-vm--102--disk--0 252:17 0 100G 0 lvm ├─vm--data-vm--104--disk--0 252:18 0 25G 0 lvm └─vm--data-vm--106--disk--0 252:19 0 32G 0 lvm sdd 8:48 0 931.5G 0 disk ├─sdd1 8:49 0 1007K 0 part ├─sdd2 8:50 0 1G 0 part └─sdd3 8:51 0 930.5G 0 part ├─pve-swap 252:0 0 8G 0 lvm [SWAP] ├─pve-root 252:1 0 96G 0 lvm / ├─pve-data_tmeta 252:2 0 8.1G 0 lvm │ └─pve-data 252:8 0 794.3G 0 lvm └─pve-data_tdata 252:5 0 794.3G 0 lvm └─pve-data 252:8 0 794.3G 0 lvm +++ exited with 0 +++ cat /proc/partitions major minor #blocks name 8 0 3907018584 sda 8 16 732574584 sdb 8 17 732572672 sdb1 8 32 3907018584 sdc 8 48 976762584 sdd 8 49 1007 sdd1 8 50 1048576 sdd2 8 51 975712967 sdd3 252 0 8388608 dm-0 252 1 100663296 dm-1 252 2 8495104 dm-2 252 3 16650240 dm-3 252 4 16650240 dm-4 252 6 3873329152 dm-6 252 5 832888832 dm-5 252 7 3873329152 dm-7 252 8 832888832 dm-8 252 9 3873329152 dm-9 252 10 3873329152 dm-10 252 11 8388608 dm-11 252 12 33554432 dm-12 252 13 524288000 dm-13 252 14 3873329152 dm-14 252 15 3873329152 dm-15 252 16 283115520 dm-16 252 17 104857600 dm-17 252 18 26214400 dm-18 252 19 33554432 dm-19 252 20 104857600 dm-20Locate drive by serial and model information
hdparm -i /dev/sda /dev/sda: Model=WDC WD4000FYYZ-05UL1B0, FwRev=00.0NS05, SerialNo=WD-WCC132262513 Config={ HardSect NotMFM HdSw>15uSec SpinMotCtl Fixed DTR>5Mbs FmtGapReq } RawCHS=16383/16/63, TrkSize=0, SectSize=0, ECCbytes=0 BuffType=unknown, BuffSize=unknown, MaxMultSect=16, MultSect=off CurCHS=16383/16/63, CurSects=16514064, LBA=yes, LBAsects=7814037168 IORDY=on/off, tPIO={min:120,w/IORDY:120}, tDMA={min:120,rec:120} PIO modes: pio0 pio3 pio4 DMA modes: mdma0 mdma1 mdma2 UDMA modes: udma0 udma1 udma2 udma3 udma4 udma5 *udma6 AdvancedPM=yes: unknown setting WriteCache=disabled Drive conforms to: Unspecified: ATA/ATAPI-1,2,3,4,5,6,7 * signifies the current active mode
-
Screen recording can use webm as their format, it can be more simple to use a gif to embed into a website or forum, than adding scripts to host different video format.
In this case I grabbed a screen record of the progress for writing zeros to a hard drive with dd
Use ffmpeg to convert webm to gif:
First create a pallet:
Move into the directory which the webm is located, or type in the path
Where ‘dd.webm’ is the screen recording
ffmpeg -y -i dd.webm -vf palettegen palette.pngOutput:
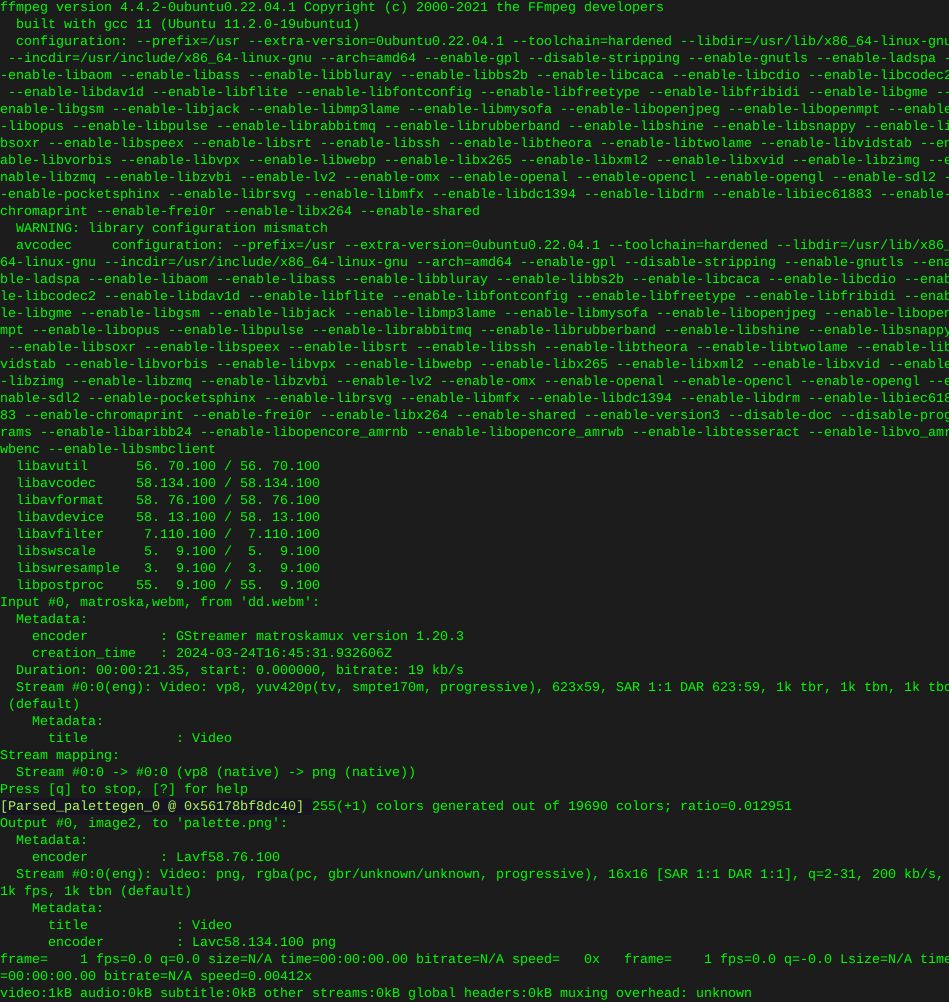
Then convert the webm to gif:
ffmpeg -y -i dd.webm -i palette.png -filter_complex paletteuse -r 10 dd.gif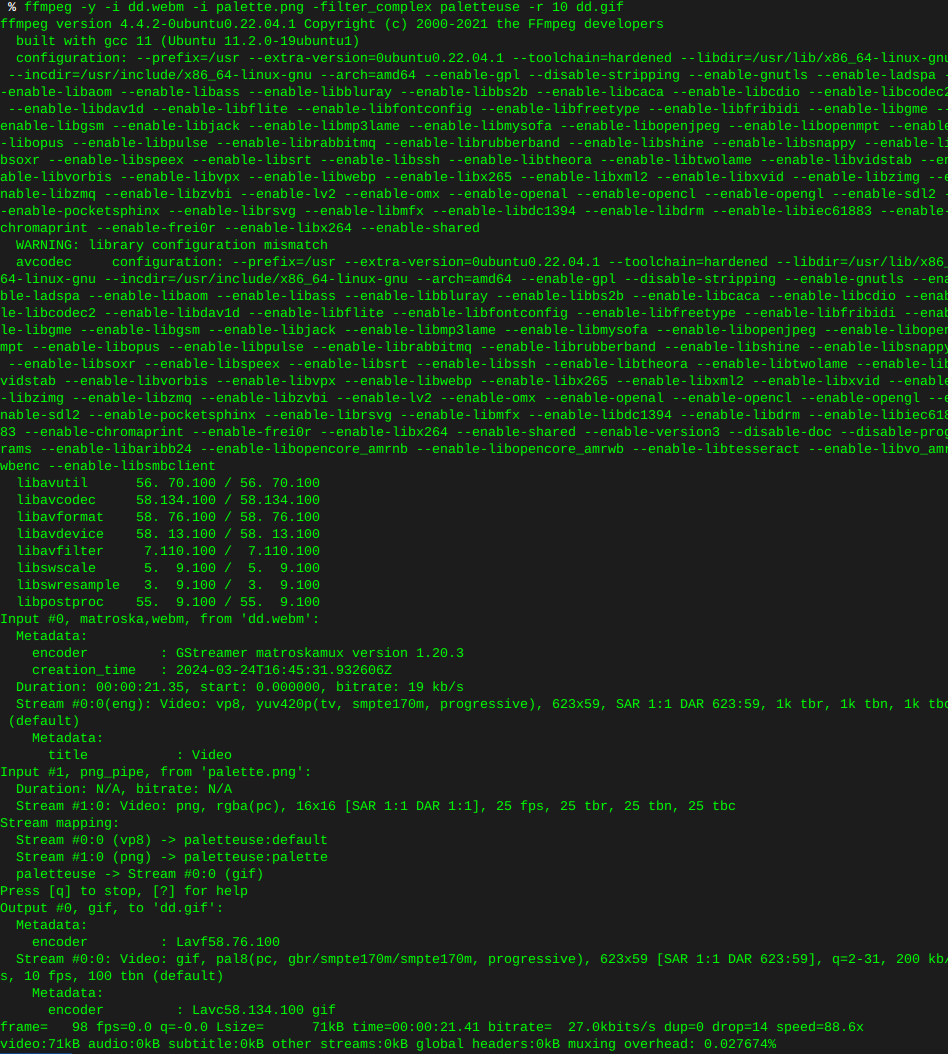
This is what I ended up with, looks like any image of any alien on the interwebz, as if shot through a potato, some tweaking of the command is in my future. None the less.

-
Write zeros to all sectors
Use the command ‘lsblk’ to find the drive you wish to erase
I’m using ‘dd’ to erase things
In this case I’m torching sdb
Only use status=progress if you care it’s not necessary
dd if=/dev/zero of=/dev/sdb bs=12M status=progress
-
Remove old kernel images that are cluttering the system
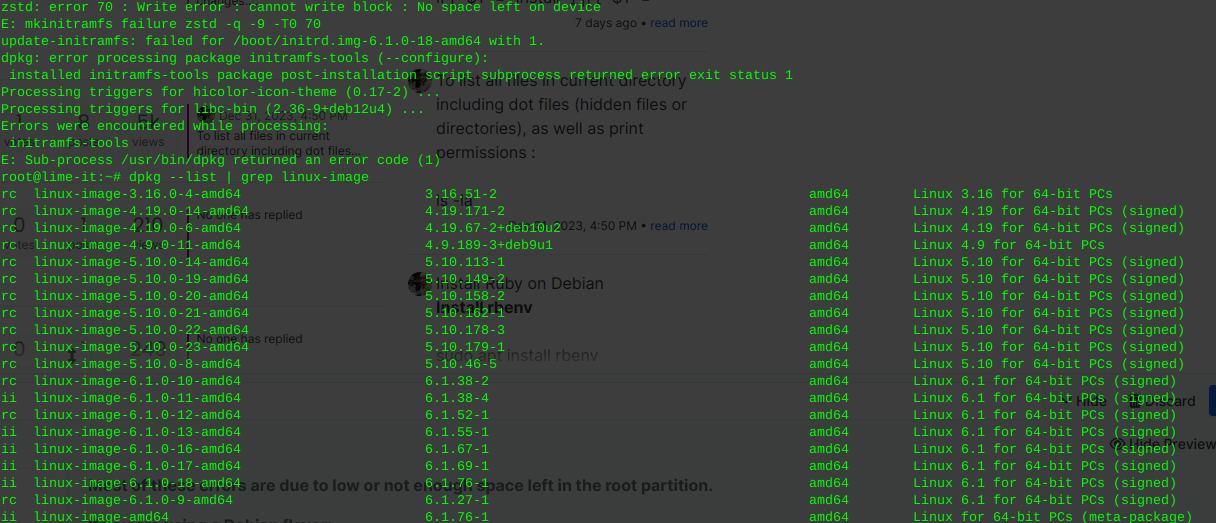
Most of these errors are due to low or not enough space left in the root partition.
If you are using a Debian flavor:
sudo apt-get autoremove --purge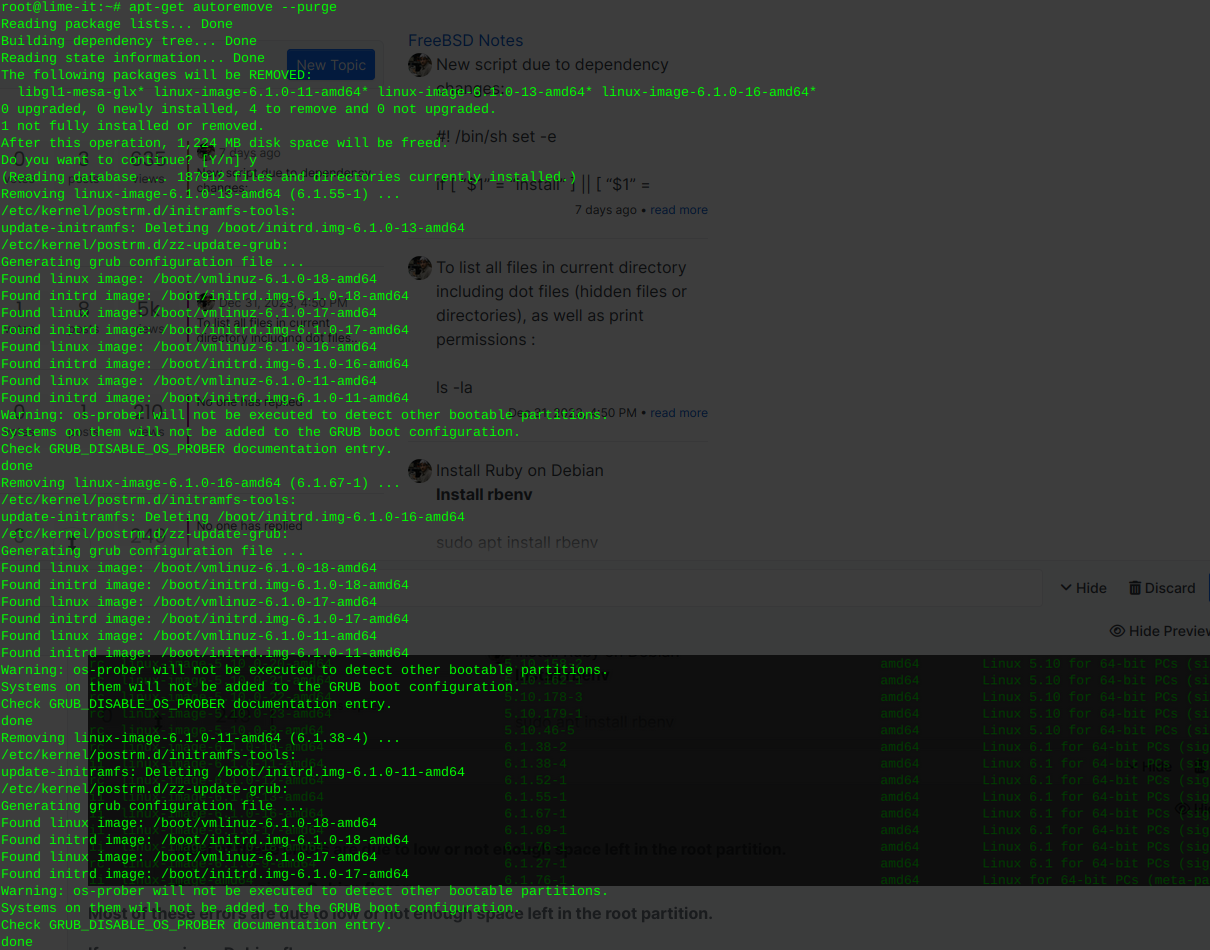
Inform grub whenever an old kernel is removed:
update-grub
Remove the un-used kernel config files:
These will be the files pre cursed as ‘rc’ where installed kernels use ‘ii’
… As well as files no longer used or required due to dependencies
This command will detect, print, and remove left over cruft from previously installed packages or scripts, that have been removed or updated.
sudo dpkg --purge $(dpkg -l | awk '/^rc/{print $2}')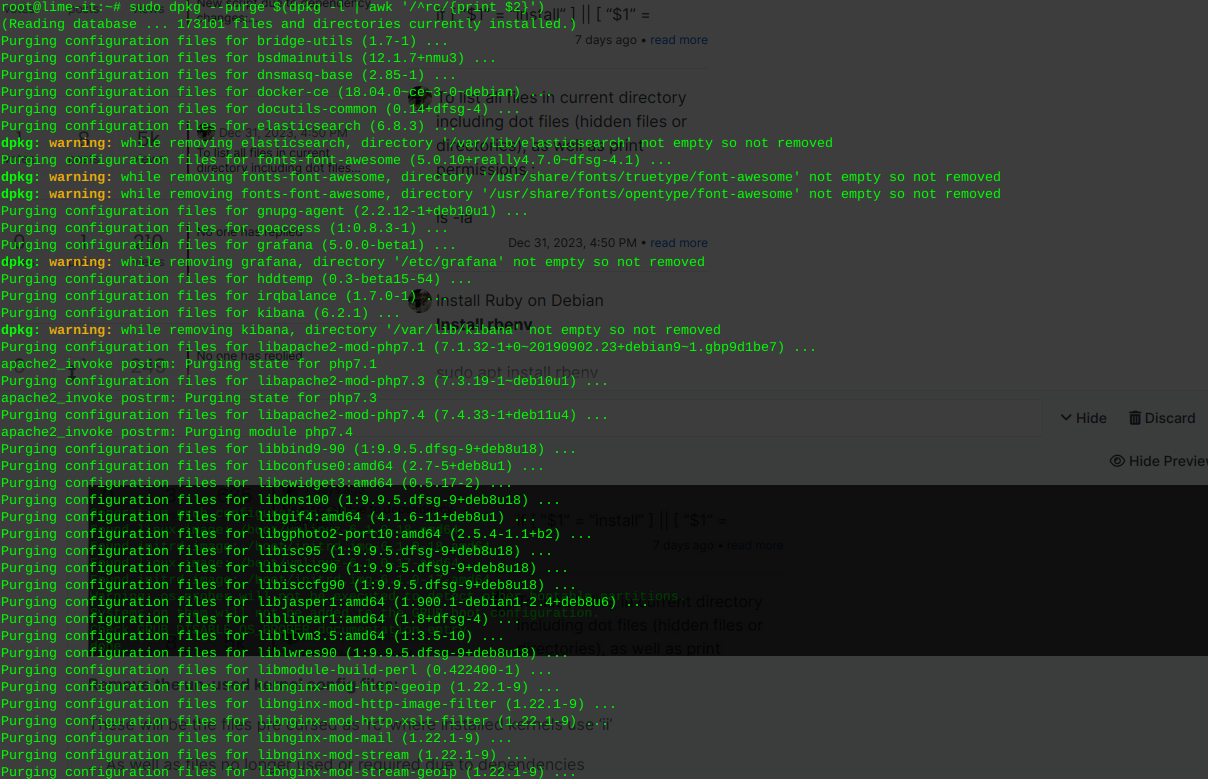
You can re-run the following to view the installed kernel(s):
dpkg --list | grep linux-image